Exporting and Importing Audio Files for the Recording Library
This article covers the steps on how to export all your audio recordings from Chronicall / Avaya Call Rerpoting, and how to import them as well once you have a backup.
This can be helpful if you are performing a server migration (Note: Ensure Chronicall versions are the same between servers before migrating), or you are trying to condense multiple Recording Libraries.
Applicable for Chronicall / ACR versions 4.4.3 and above.
Steps to Backup Audio Recordings
-
Sign into Chronicall Desktop as an Administrator
-
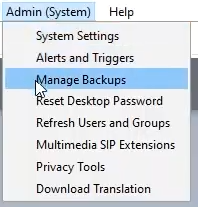
Select Admin (System) > Manage Backups
-
Select Click here to define date range, and select the date range you would like to back up

- Note: If you select the Download All Recordings checkbox it will override the date selection and download every audio recording.
-
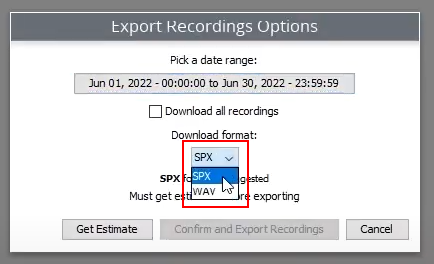
Select the format you would like to download the recordings in
-
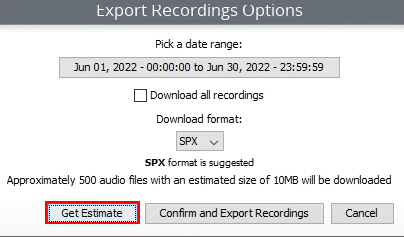
Select Get Estimate to see how many audio files your current selection will download, and how large the audio files in total will be
-
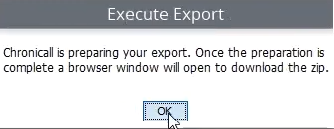
You should see this message letting you know the download has started
-
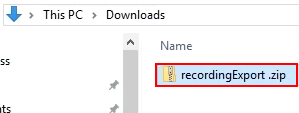
Once it has finished compiling and downloaded, you should be able to find it in your downloads folder
-
Move the .zip file as shown above to the new server you would like to import from
Steps to Restore Audio Recordings
-
Sign into Chronicall Desktop as an Administrator
-
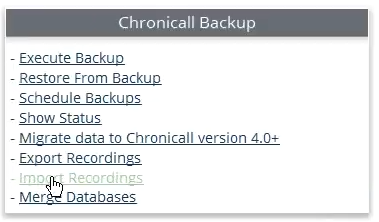
Select Admin (System) > Manage Backups

-
Select Import Recordings
-
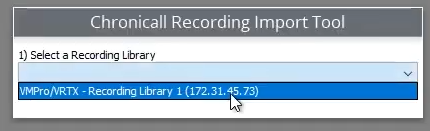
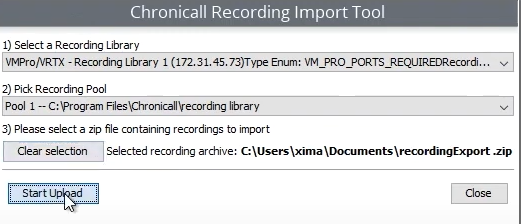
Select the Recording Library you are using
-
Select the Recording Pool you would like to audio recordings merged into
-
NOTE: This is where the audio recordings will be uploaded to, so be sure to pick a drive with plenty of storage space

-
-
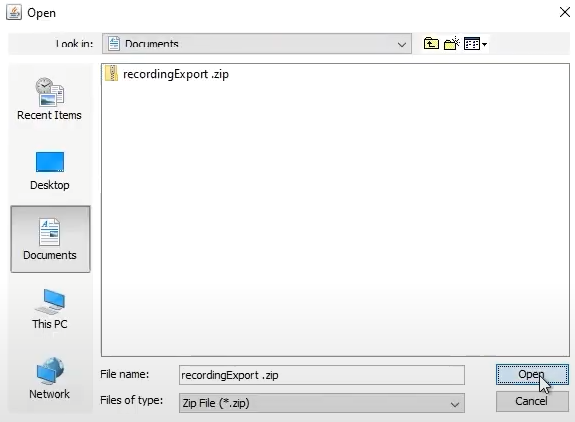
Click Select a zip file to import

-
Select the file you would like to import, and then click Open
-
Select Start Upload to begin the upload
-
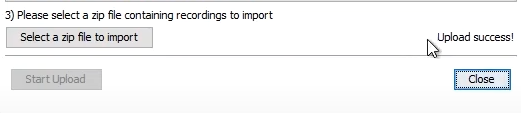
Once the audio files have finished uploading, you will see an Upload success! message as shown below
Updated 21 days ago