Run Report - HTML
This provides instructions on how to run Standard and Custom Reports.
To begin, click on the document icon located on the left-hand side of the screen, and click on “My Reports.”
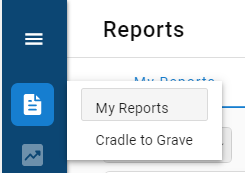
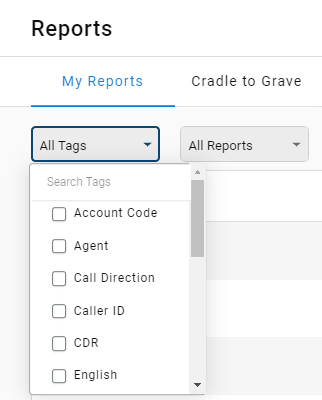
From there, you will see two filter options on the top left-hand side of the screen: “All Tags” and “All Reports.”
“All Tags” allows you to filter which kind of report you would like to run from our existing reports provided to you. (i.e., Agent reports, Group reports, Call Direction reports, etc.)
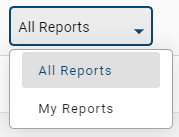
“All Reports” gives you the option to either search through all of our preexisting reporting, or switch to “My Reports,” which would display any reports you may have already used or saved.
To run a report, click on the type of report you would like to run and a configuration window will come into view.
Timeframe
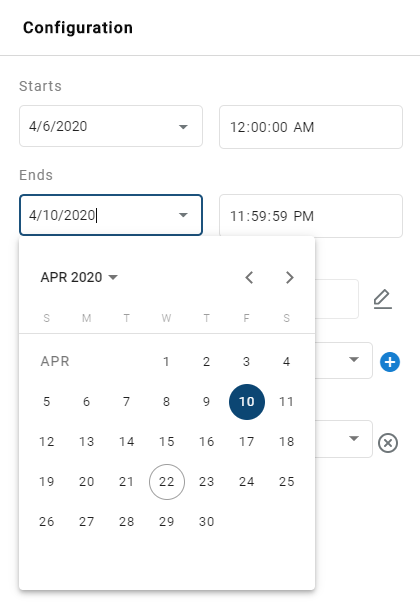
Starting from the top, we will first select our timeframe. Meaning the timeframe that you would like the report to cover.
For example, if you would like to run the report from April 6th to April 10th, begin by selecting the corresponding "Starts" date, followed by the corresponding "Ends" date. Additionally, you can also select the start time and the end time of the report. Default starts at 12:00 am on the "Starts" date, and will end at 11:59:59 on the "Ends" date and will cover everything in between.
Automatically Populated FieldsIf you have version 4.4.1 of Chronicall or higher, please note that the filter window automatically has the information fields calls/chats, agents, and skill in addition to the time frame. These are still optional, but saves you time because these are our most popular criteria.
Rows
The next task is to select our "Rows". This will depend on the report. Typically this will contain items such as Agents, Groups/Skills, External Numbers, among other items. For this example we will focus on Agents. Select the pencil tool to the far right.
Note: An asterisk represents and required field (aside from the timeframe).
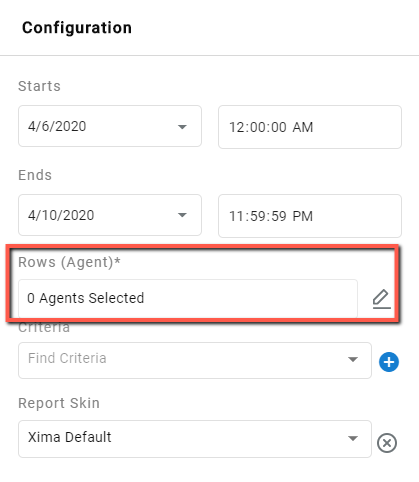
A list of your agents will then appear on your screen. Select the desired individual users that you would like featured on the report, then hit "Apply"
Note: Not every report will contain the "Rows" option. If it doesn't, you will do your configuration in the "Criteria" section.
Criteria (Optional)
The Criteria filter provides further optional configuration options. Each report will have criteria options specific to that report.
For example, some reports may have "Group" as a criteria option. If this is the desired criteria option, select "Group" from the drop down list. Next, select the "plus" symbol to the right of "Criteria". This will create a new line in the configuration window, where you can now select the desired group(s) for the report.
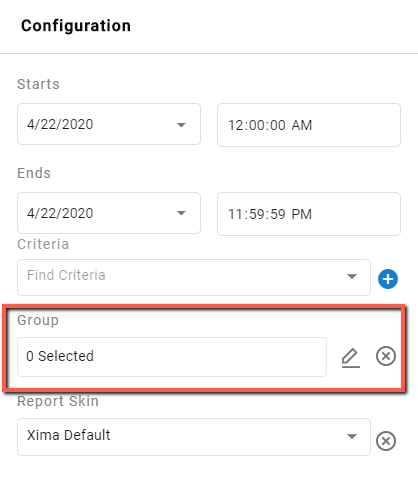
You can now select the desired group(s) to apply to the report.
Additionally, there are options that will be consistent with each report. To use any of the other criteria options, simply select the desired criteria from the list of options, then hit the "plus" symbol. It will then add a new criteria line wherein you can select the desired criteria.
Additionally, it is possible to add multiple criteria options.
Charts
When setting up your reports, you will have the option to have charts displayed on your report. Charts are a visual representation of the information found in the columns on a report.
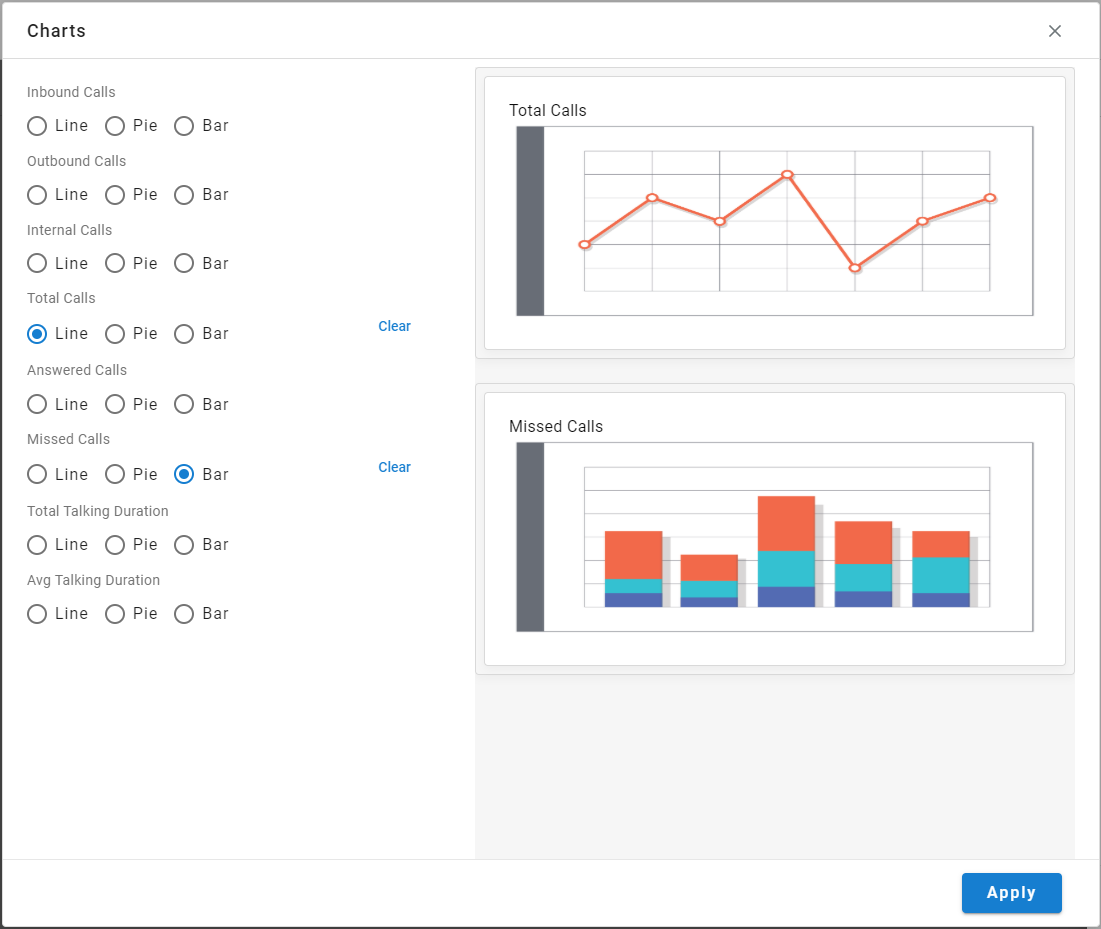
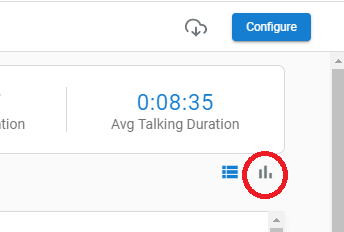
You can select to display a line chart, pie chart, or bar chart. To view the charts once you’ve run the report, simply click on the bar chart icon located in the top right-hand corner of the screen just below the “Configure” button.
Shift
In situations when working with different shifts during the day, the Shifts option allows you to specify the shift time frames so you can quickly and easily report on that specific time frame without having to re-enter the time frame each time you run the report. Simply create* the shift, save it, and select it from the drop down.
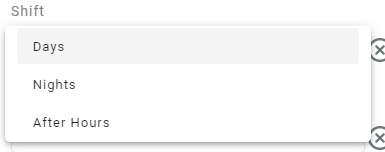
*Note: The shift must be created in the Java version of Chronicall. This can be done by accessing Chronicall through Internet Explorer or the Chronicall Desktop.
To configure shifts, see this article.
Time of Day
As previously mentioned, Chronicall will report on twenty-four hours a day. If Monday through Friday is selected, but you only want to report on open business hours, change "Time of Day" from twenty-four hours to display your open business hours (I.e., if 8:00 AM to 5:00 PM is selected, then the report will display information from 8:00 AM to 5:00 PM daily.).
Days of Week
If Monday through Friday is selected, Chronicall will report on Monday through Friday. In a situation wherein only Monday and Friday want to be seen, select "Days of Week" from the criteria section. This will allow you to select only the specific days that you want to report on.
After you’ve entered all the information into the configuration window, click the “Apply” button located on the lower right-hand corner of the screen.
Updated 3 months ago