Cradle to Grave - Saving Filters
This article demonstrates how to add filters to view certain Cradle to Grave data.
How To: add filters to view certain Cradle to Grave data
Similar questions: save Cradle to Grave filters, add Cradle to Grave criteria, add criteria, add filters, add Cradle to Grave filters, save filters
Purpose: To demonstrate how to add filters to view certain Cradle to Grave data
Cradle to Grave provides the flexibility to validate information found on the reports. You can narrow down your options to only show calls with desired criteria quickly and easily. If there is a set of criteria filters that you use on a regular basis, you can save a filter that will allow you to quickly load the criteria filters without having to reselect them every time you need to run Cradle to Grave.
Steps
- Navigate to the Chronicall main page.
- Select the Reports tab (document icon) > Cradle to Grave.
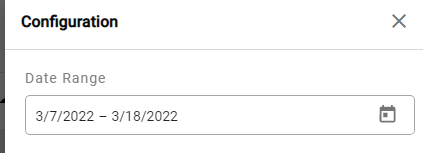
- In the Date Range information field, select the time frame of the Cradle to Grave data you would like to view.

Automatically Populated FieldsIf you have version 4.4.1 of Chronicall or higher, please note that the filter window automatically has the information fields calls/chats, agents, and skill in addition to the time frame. These are still optional, but saves you time because these are our most popular criteria.
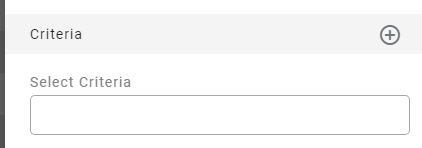
- Click the plus button next to Criteria to select any filters you would like to add to narrow down the Cradle to Grave data you would like to view.

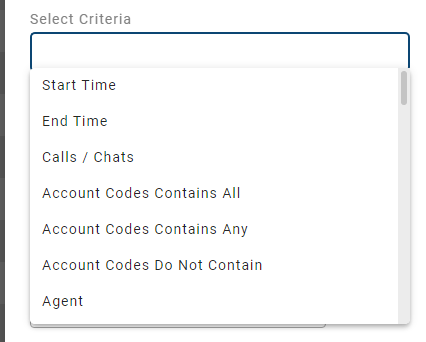
- A field of information called Select Criteria will appear below in the Criteria section. Click the field of information and a dropdown menu will appear with the different filters you can select.

- Once you have selected all appropriate filters you desire, click Apply.
Cradle to Grave will then provide the calls that match the criteria of the filters set.
Viewing Chats in Cradle to Grave (Version 4.4.1 or Higher)When viewing chats in Cradle to Grave, click the associated ellipsis icon next to the chat and then select View Chat for better way to see a chat in full. You will see chat the same way a Contact Center agent does, which means you will be able to see the full chat in the main window and customer details on the right. You will also able to add notes and codes to the chat.
Updated 3 months ago