Using WebRTC
This provides information on how to use WebRTC.
To access CCAC using WebRTC, enter in the Avaya Call Reporting DNS URL followed by “/ccagent/login” to go to the main screen. You’ll see a login screen for you to sign into. You can find your name by entering your extension, name, or finding it in the dropdown menu. Your password will usually be your extension unless otherwise specified. There will also be a checkbox with the phrase “Enable WebRTC” next to it. Make sure that box is checked before clicking the “Log In” button.
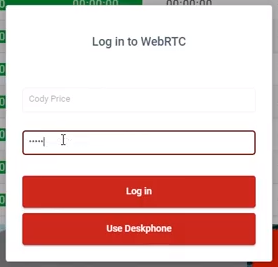
Once you are logged in, you will see a pop up window that will prompt you to enter in a WebRTC password. Your password is the phone password configured within IP Office. Once you enter that password, select “Log In.”
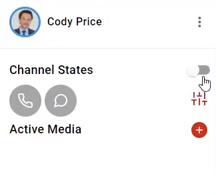
In the left sidebar, you have a few options. First, you can turn on and off Contact Center Do Not Disturb (CC-DND) by moving the toggle next to “Channel States.” When the toggle is gray, you are on CC-DND; when the toggle is red, you are not on CC-DND.
When you go on CC-DND, a window will pop up that allows you to select your reason codes. Reason codes are configured within the Administration of Avaya Call Reporting.
Second, you can turn on your voice channel by clicking on the phone and/or chat icons located below “Channel States.”
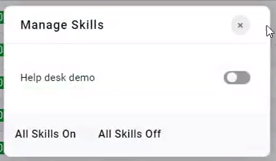
Third, you can log in to your skill groups by clicking the icon directly below your DND toggle. A window will pop up where you can toggle which skills you would like to be logged into. In this window, you can also log in and out of all skills simultaneously by clicking “All Skills On” or “All Skills Off.”
Finally, you can make an outbound or internal call by clicking the plus (+) icon next to “Active Media” and then selecting “New Call.” A window will pop up to help you start a new call.
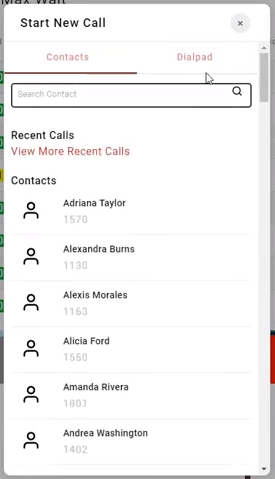
In the WebRTC mode, your new call will run in a softphone mode. You can either select other extensions to dial from your Contacts tab, or you can tab over to the Dialpad tab and enter the number you would like to dial. To call, click the blue phone icon that will appear at the bottom of this window. A new window will then pop up asking which skill groups you would like to be associated with the call, if any.
If you would like certain skill groups to be associated with the call, select those skill groups, or if you do not want any skill groups associated, click the “Close” button.
Now your call will begin. Once your call is connected to a line, you have a few options. You can mute the call by selecting the microphone icon, you can place the call on hold by selecting the pause icon, or you can perform a cold transfer to another user by selecting the plus icon. The dial pad icon is to add digit presses in the event you need to navigate a menu on your call.
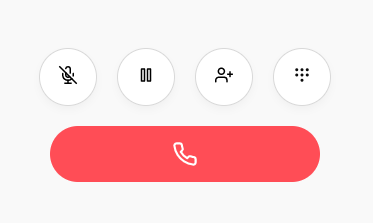
Once you are done with your call, simply click the end call button.
Updated 3 months ago