Mitel MiVoice Connect (ShoreTel) - Server Installation
Server Requirements
Format
Downloadable setup file
Database
PostgreSQL & OrientDB
Web Server
Apache Tomcat
User Interface
Web Interface and Chronicall Desktop Application
Server Requirements
Server RecommendationChronicall can only be installed on the DVS server.
- Windows 2008 or higher
- 250 GB Hard Drive (minimum)
- 8 GB RAM
- Quad Core CPU (minimum)
Mitel MiVoice and ShoreTel Legacy
- ShoreTel Release 10.3 or Higher
- ShoreTel Connect on Premises
- MiVoice Connect
Changes to ShoreWare Director
None Required
MiVoice Connect & ECC Integration
- RTA and RTE user profile if Realtime is required
- Route point set up required for historical data
Note: Xima Realtime license required for Realtime reporting.
Virtual Machine
VM Ware
User PC Requirements
- Windows 7 or higher
- Internet Explorer
- Java 7 or higher
- Javascript enabled
Increasing Server Requirements
You may need to increase the hard drive and CPU depending on the number of Realtime Agent Licenses you have and if you are recording calls.
Realtime RAM Requirements
The chart below shows the amount of RAM required per Realtime Agent Seat.

Recording Storage
The following chart details the number of days until the disk drive is filled up from recording. Use this information to determine your company’s needs.

*Assume 8 hours per agent, per day
VRTX CPU & Server Requirements
SIP Trunk UtilizationIf you are utilizing a SIP trunk, it is recommended (but not required) that a port mirror be utilized.
Note: It is recommended that no more than two devices are attached to the Chronicall Server. If more than two VRTX devices are needed, be sure that they are attached to separate, stand-alone servers. Three VRTX devices are supported_per server. If encrypting recordings, additional memory may be needed. Refer to the chart below for memory requirements for the amount of VRTX devices and Recording Ports (RP)_

Shoretel Installation Guide
Updated June 25, 2018
Install Java
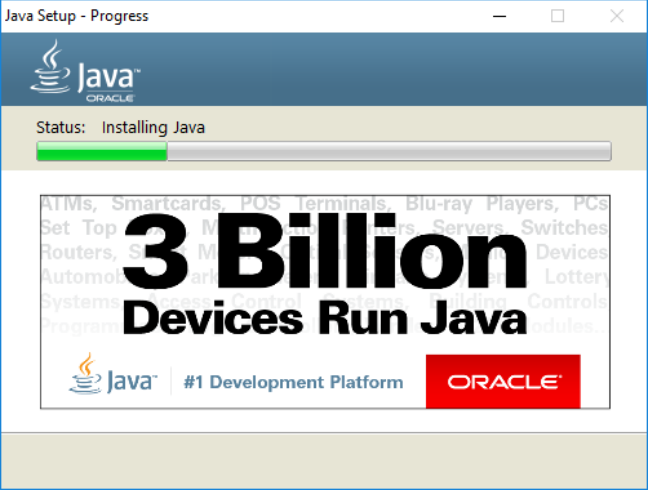
- Skip Java setup if installing Chronicall 3.95 or newer. Chronicall runs on the Java platform. Download and install Java onto the server where Chronicall will be installed. This must be an Oracle based Java (available at www.java.com) and it must be 32-bit for Shoretel. Follow the prompts to install Java.
Install Chronicall
-
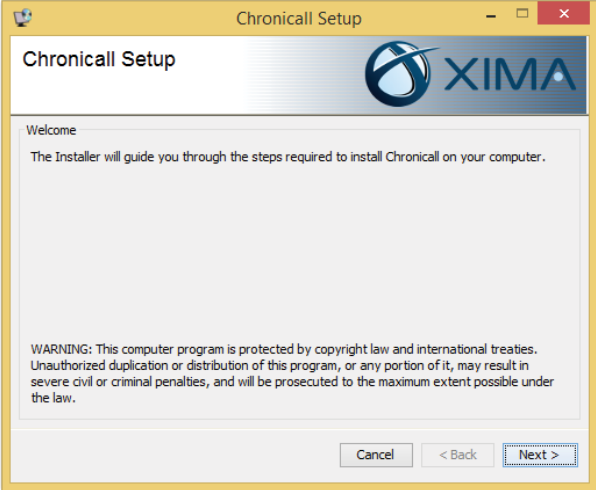
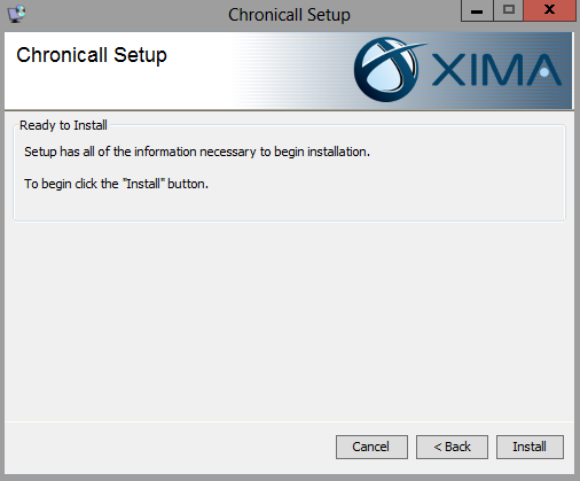
Download Chronicall Setup file from our website at Chronicall Downloads onto the server where Chronicall will be installed. Chronicall must be installed on the HQ server or on a DVS server (Note: DVS is preferred. If Chronicall is installed on the HQ server you may be asked to remove it and re install on a DVS server). Once downloaded, run the installer as an Administrator. The file will do a check for Java and then the following Chronicall Setup screen will appear. Note that it may take a few minutes for the Chronicall Setup window to appear.
-
Left click next in the below screen.
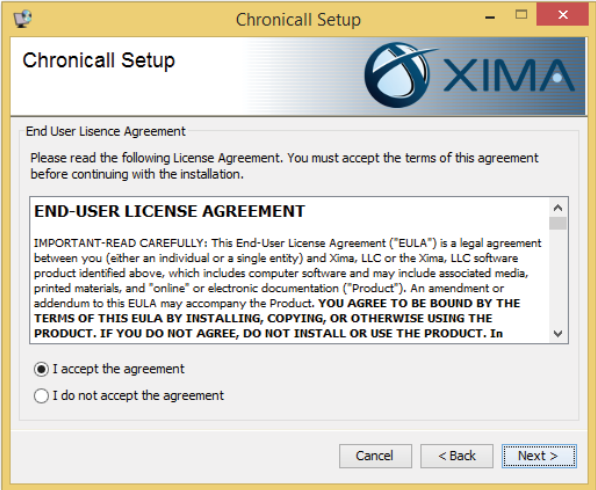
- Select I accept the agreement, and left click next again.
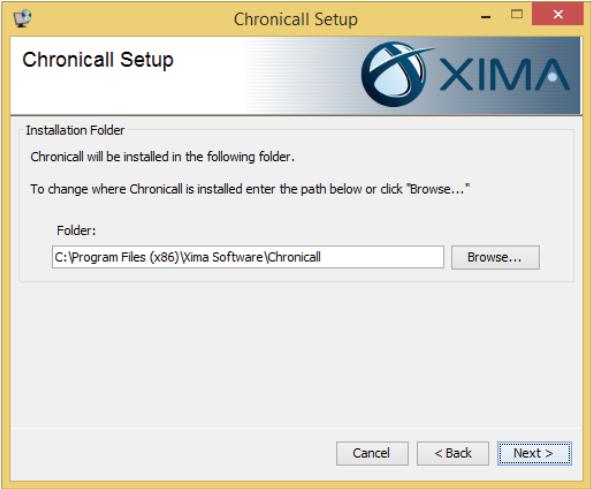
- Indicate the directory where you would like to install Chronicall. Left click Next.
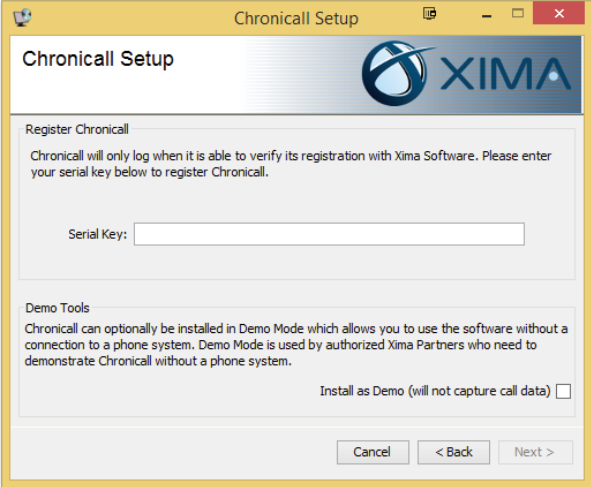
- Register your Chronicall by entering the serial key for your installation. Left click Next.
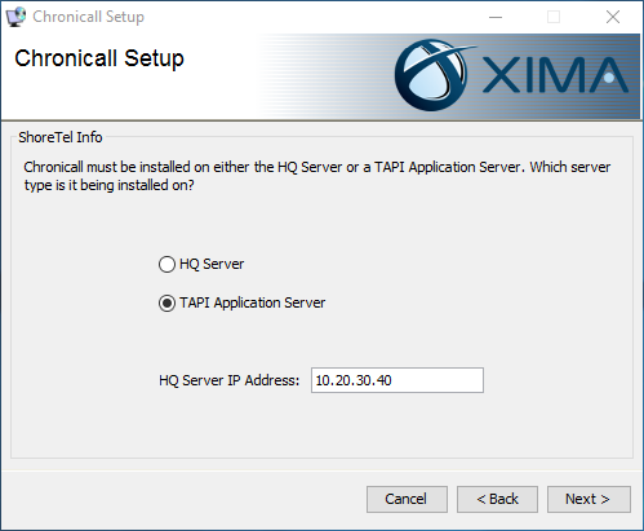
- You should always install Chronicall on a TAPI application server. If it is on the HQ server, we will likely require that it be moved over to a TAPI application server.
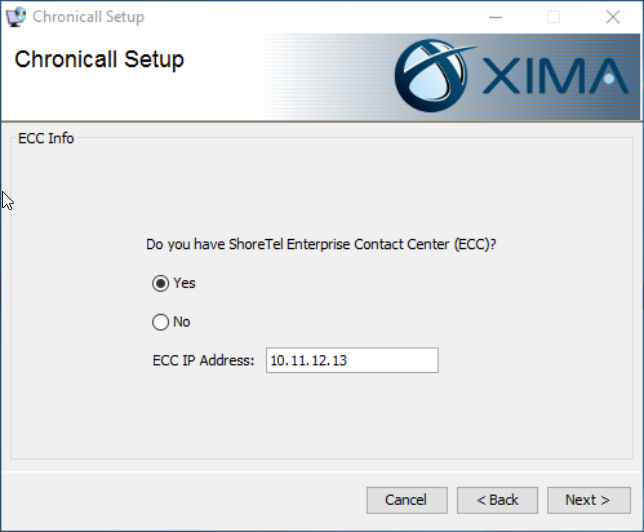
- Select whether or not you have a ShoreTel Enterprise Contact Center (ECC). If yes, enter the IP address of the ECC server. Click Next.
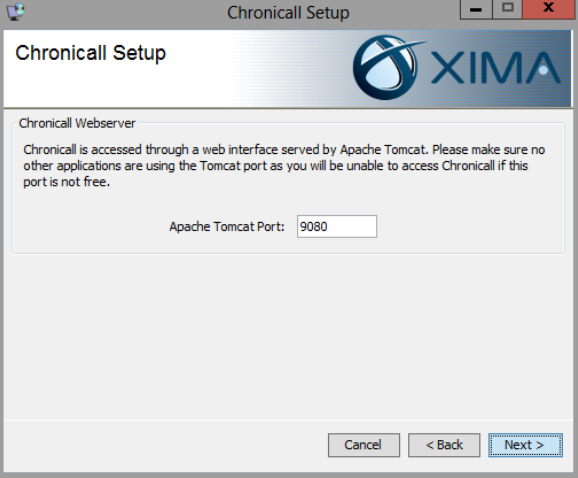
- Define the web server port for Chronicall's Tomcat web server (the default settings are already entered - most users do not need to change these settings). Click Next.
- Click Install to continue the installation with the configured settings.
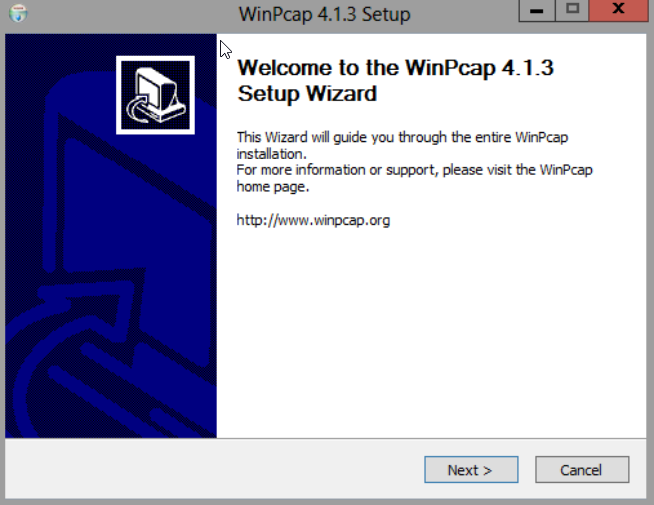
WinPcap installation.
- During the install you may be prompted to install WinPcap. If not, skip to step 14.
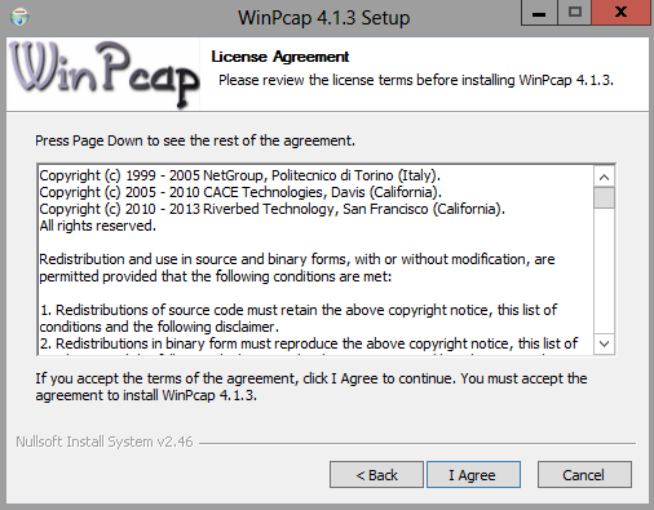
- Accept the License Agreement by clicking "I Agree".
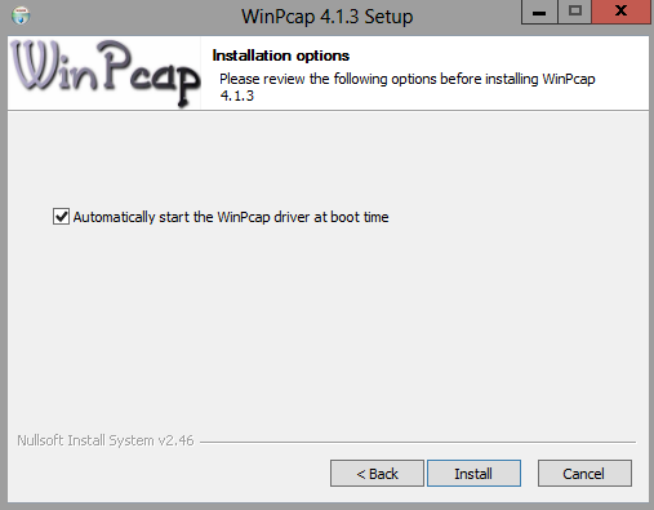
- Ensure that the option to 'Automatically start the WinPcap driver at boot time' is enabled. Click Install.
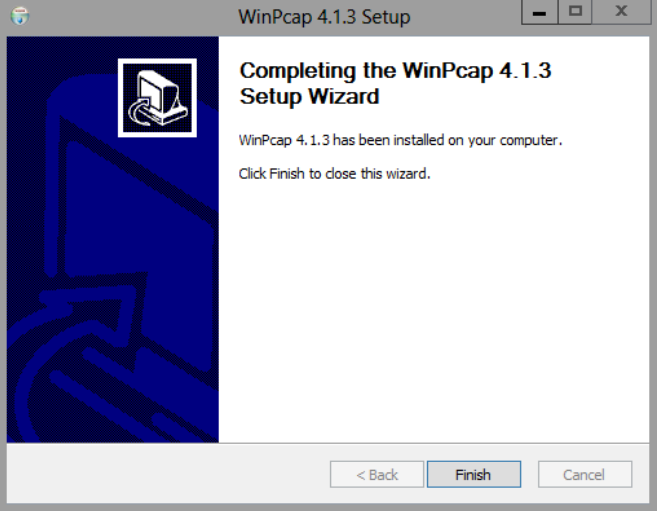
- Click Finish close the WinPcap install.
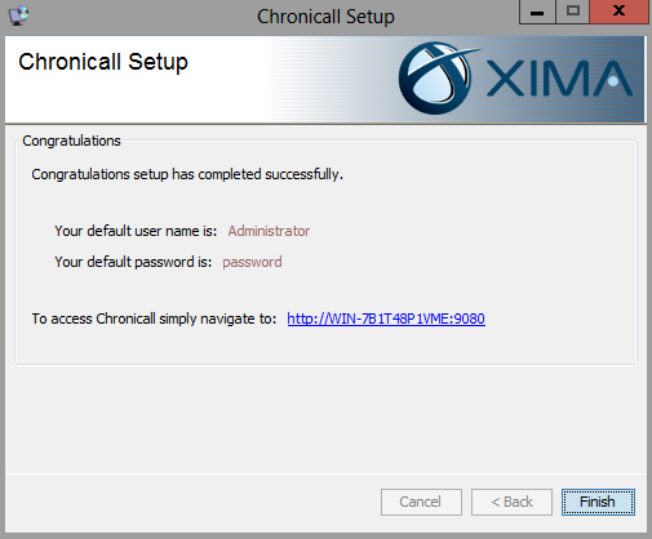
- You will get the Finish Screen once Chronicall has completed the installation. Note the default user name, the default password, and the URL to access Chronicall are provided. Be sure to note these.
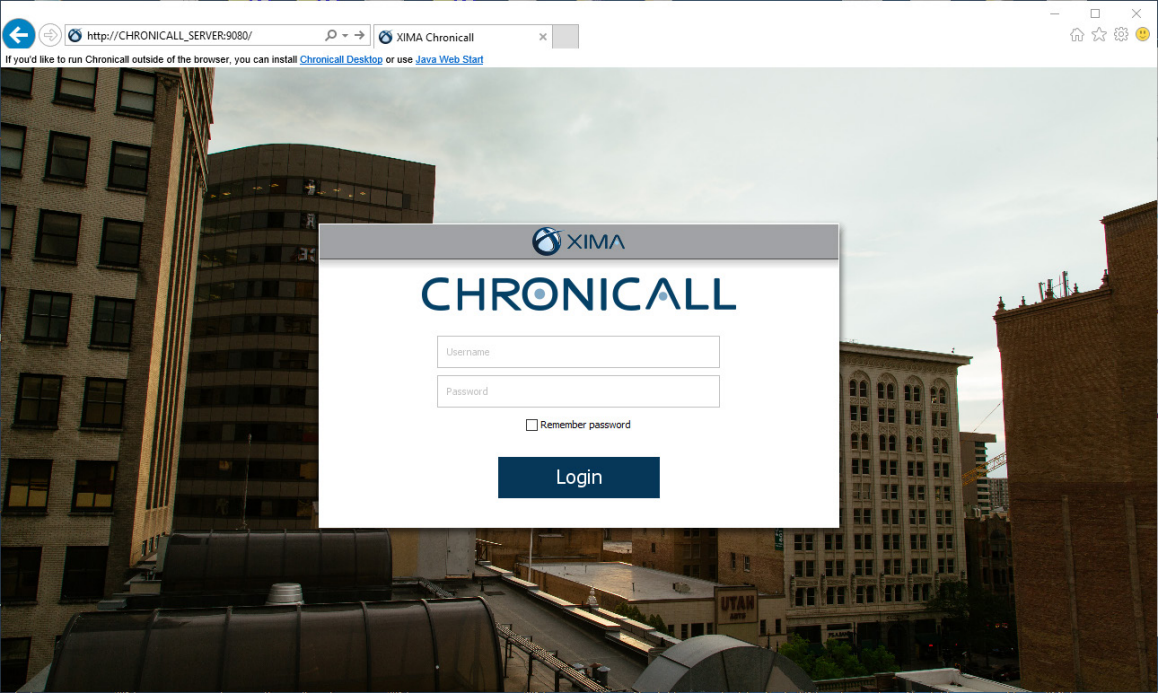
- Go to the URL provided on the final screen of the installation. This will take you to the Chronicall Login screen. As mentioned on the final screen of the installation, the default user name is 'Administrator' and the default password is 'password'. If your browser does not support Java, you can download and install Chronicall Desktop.
-
A configuration wizard will appear as shown after step 17, the first time you first log into Chronicall. The configuration wizard will prompt you for information required by your installation. Not all of the following steps will apply to every serial key. You will only be prompted in regards to the modules purchased.
-
Select which users you would like Chronicall to monitor. Chronicall will track call data for the selected users and will not track data for users who are not selected. Checking all users will put Chronicall in Auto Assigned mode, which will automatically apply a license to new users when Chronicall detects them. Select the desired users, then click Finish.
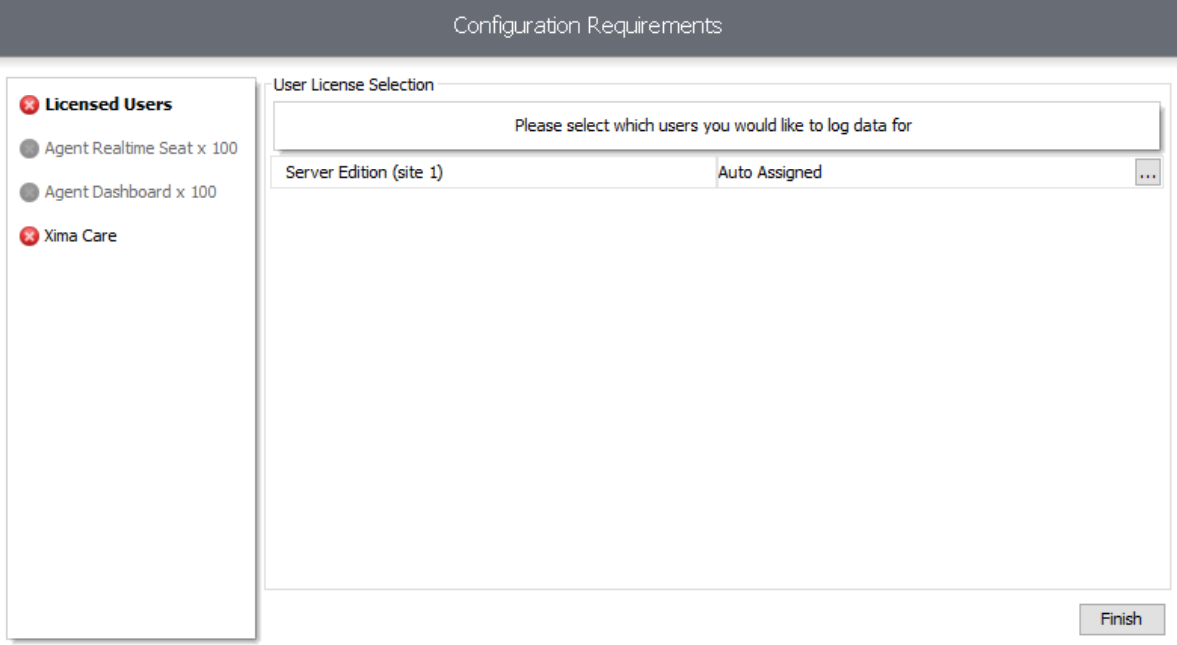
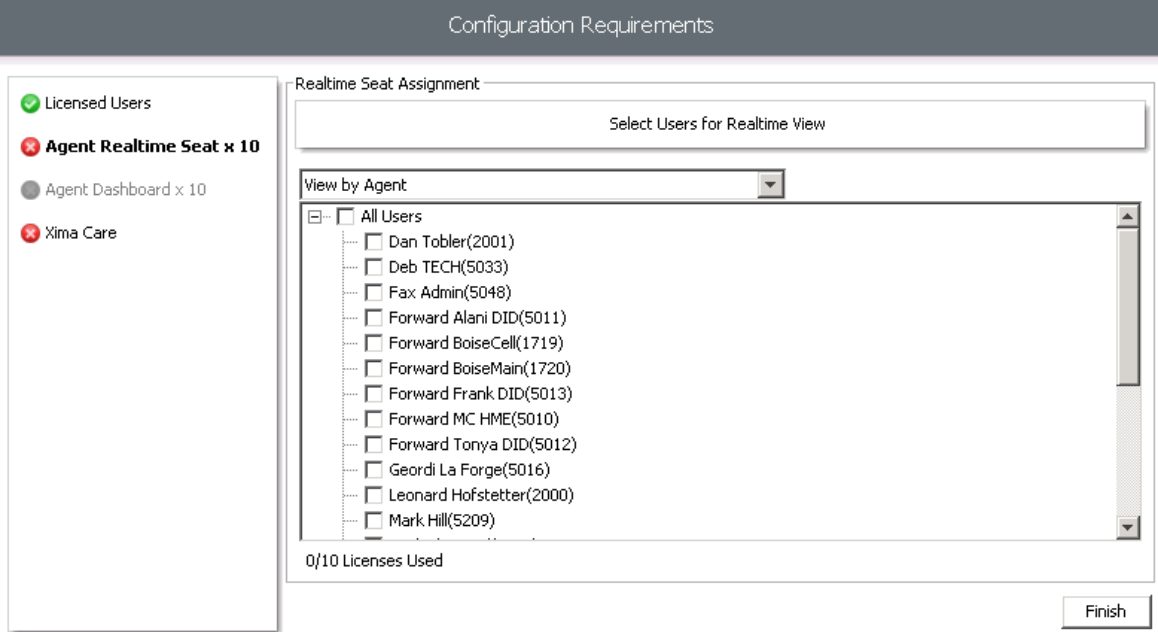
- If you purchased Realtime licenses then you will be prompted to select the users that you would like to view in Realtime. Select the desired agents, then click Finish.
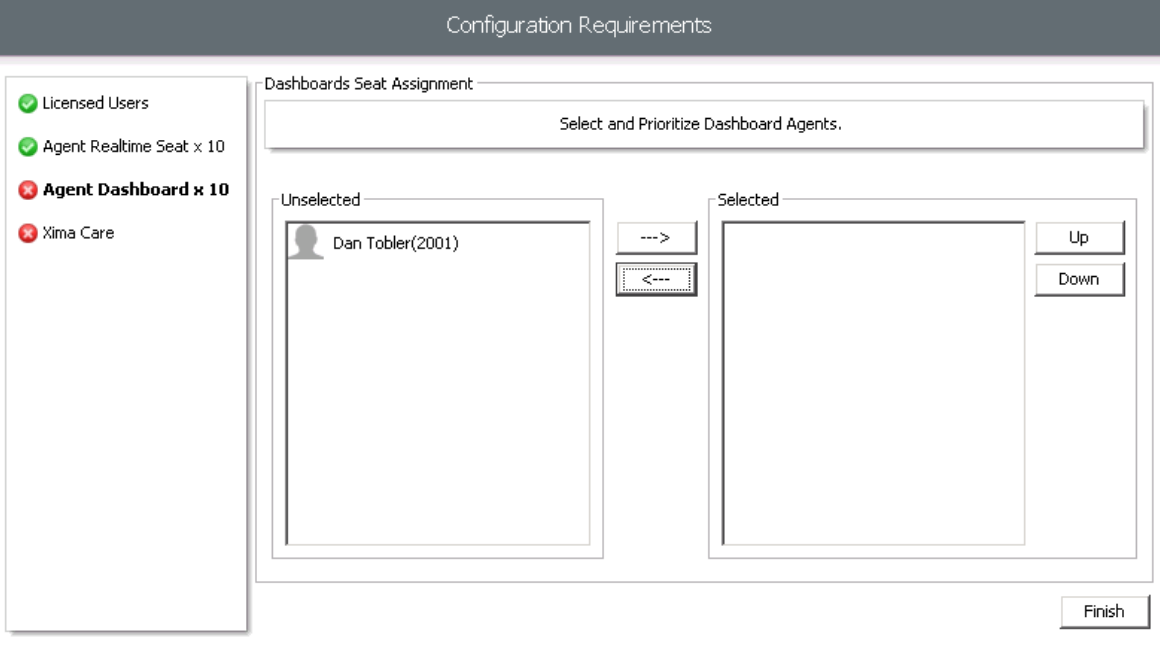
- If you purchased Dashboard licenses then you will then be prompted to select the users that you would like to give a Dashboard license to. Configure the desired users, then click Finish.
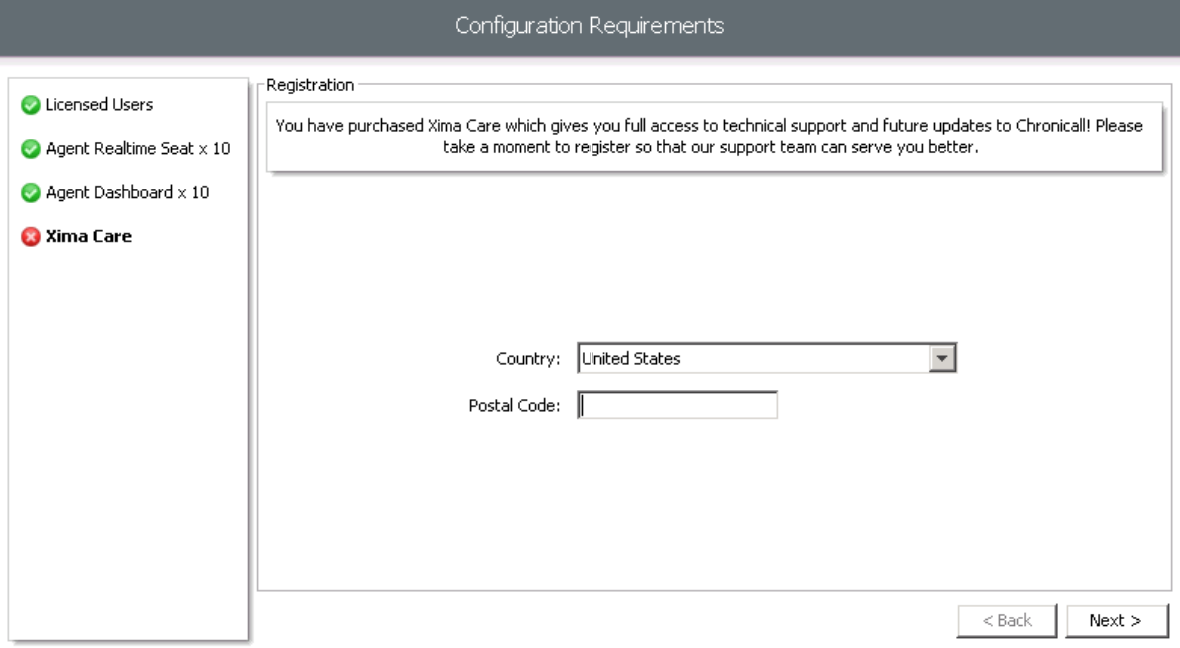
- If you purchased Xima Care, our support plan, you will be prompted first for some contact details. The first request is for your Country and Postal Code. Enter these details, then press Next.
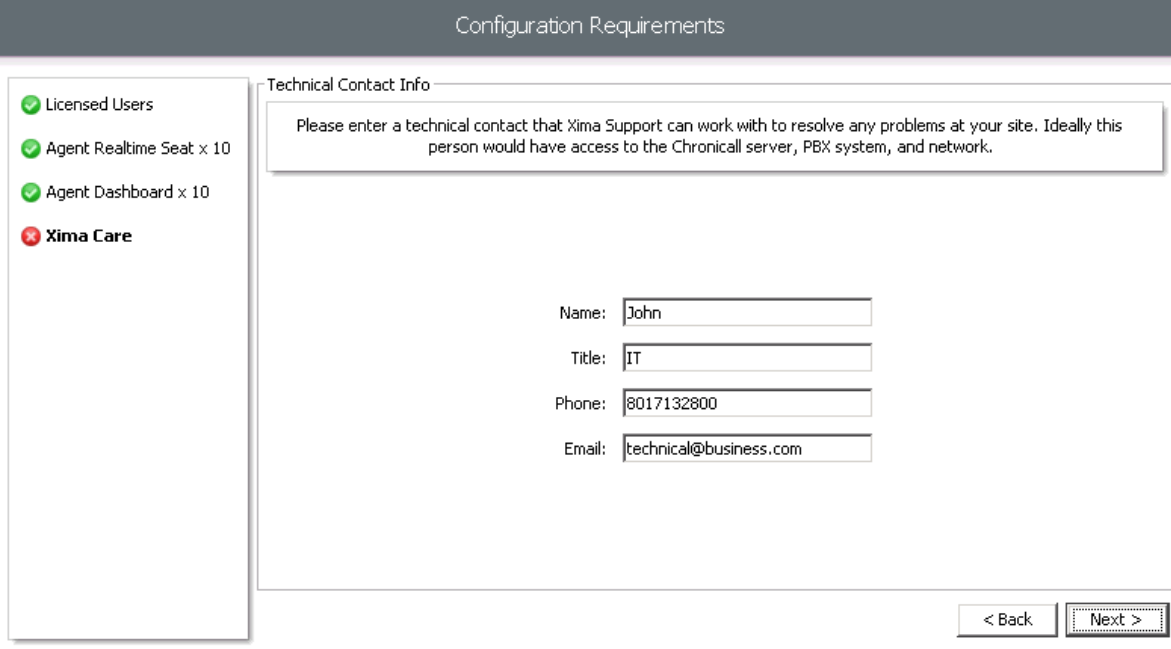
- Enter the contact information for a Technical contact, then press Next.
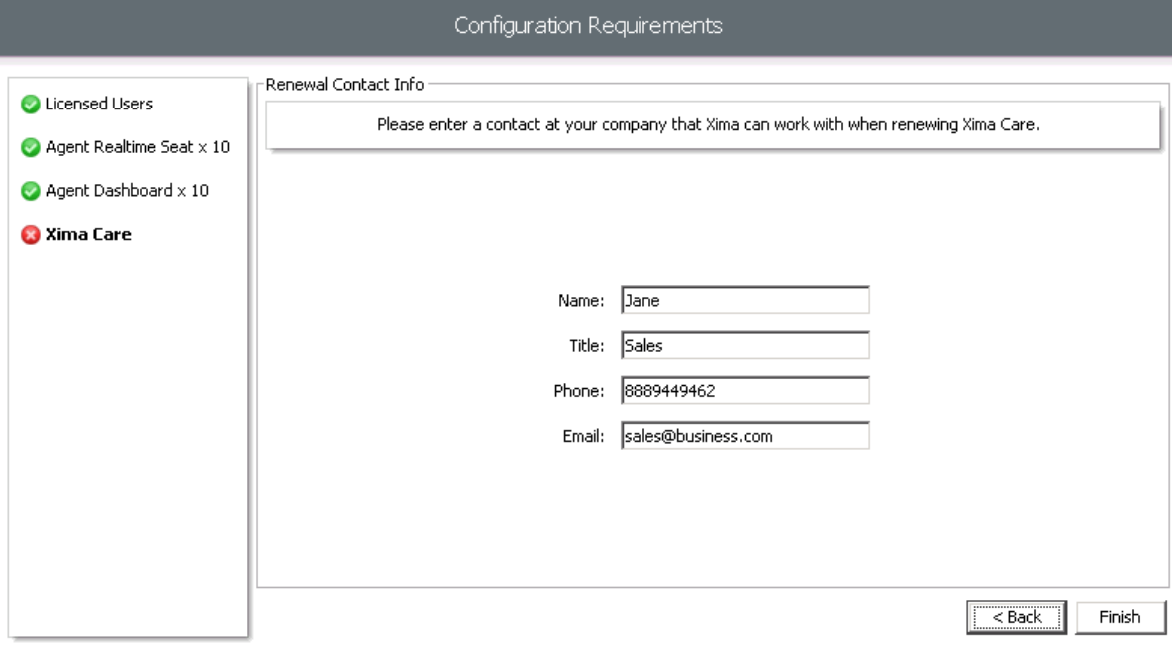
- Enter the contact information for a Xima Care renewal contact, then press Next.
Configure Call Recording within ShoreTel
Follow these instructions if you will be recording calls with the ShoreTel. You may skip this section if you will be recording calls with VRTX.
Configure a ShoreTel Route Point for Call Recording
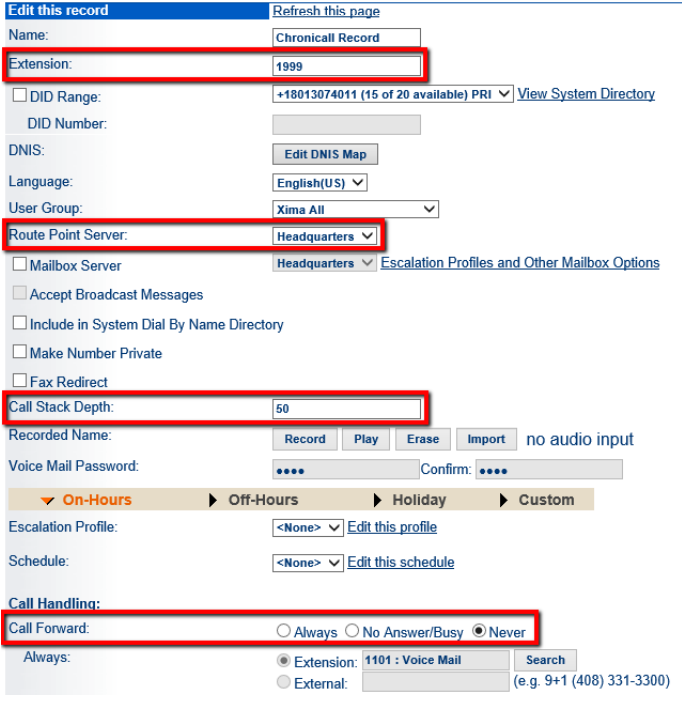
- Configuring call recording on ShoreTel systems requires setting up a new route point with the ShoreWare Director software. To do this, first open ShoreWare Director and select Call Control, then Route Points in the list to the left. This will open a list of your current route points. From here you can create a new route point. The following fields need to be defined.
- Extension: Enter an extension for the route point. This can be any free extension, and will need to be referenced later within Chronicall.
- Route Point Server: Choose the name of the server where Chronicall is installed, whether it's Headquarters or one of the application servers.
- Call Stack Depth: Enter the number of calls you would like to be able to record simultaneously.
- Please note that there are 250 audio resources that are shared between all auto attendants, voicemail boxes, and route points, including this one. If more than 250 total resources are assigned, your voicemail system or auto attendants might be affected.
- Call Forwarding: Select Never
- Once configured, finish by saving the route point.
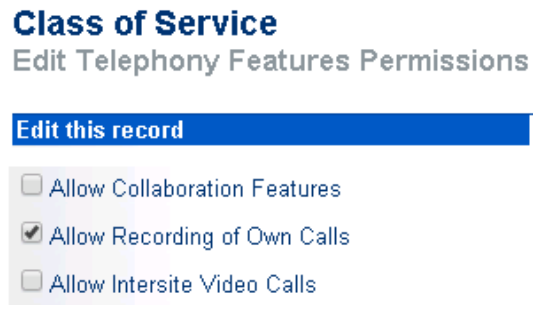
- In addition to setting up the Route Point, verify that users have the ability to be recorded. This is done within the Class of Service of the User Groups that the users are members of. On the Class of Service page for telephony permissions, ensure that the “Allow Recording of Own Calls” is enabled.
Depending on your ShoreTel version, the “Allow Recording of Own Calls” may look like this.
Install the Recording Library
- The Recording Library is typically installed during the initial Chronicall installation. If
Chronicall has already been installed then the Recording Library may also already be
installed. You can verify this by opening the server’s local services and verifying that the
Chronicall Recording Library service exists. If the Chronicall Recording Library service is
not on the server then you can install it by downloading and running a Chronicall Update
(not the Recording Library setup).

Configure the Recording Library
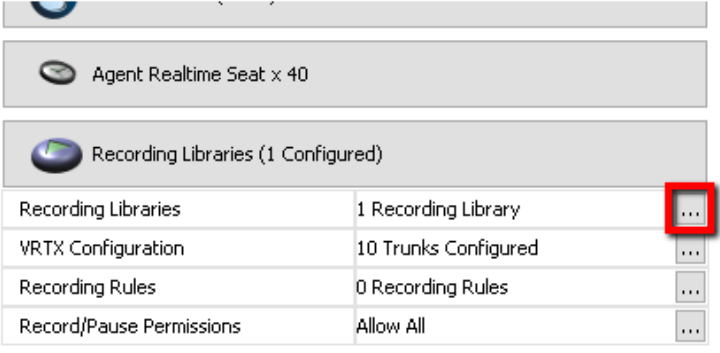
- Once Recording Library is installed, open Chronicall and go into System Settings > Recording Library > Recording Libraries "..." button.
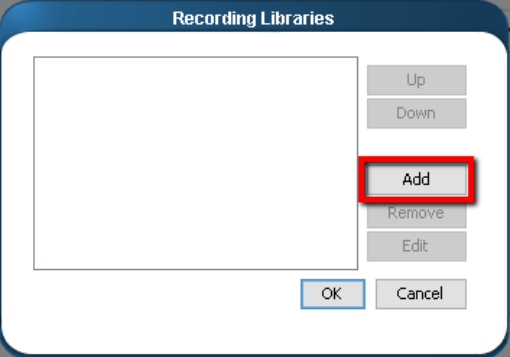
- Click Add. (one may have already been created by default that can be edited).
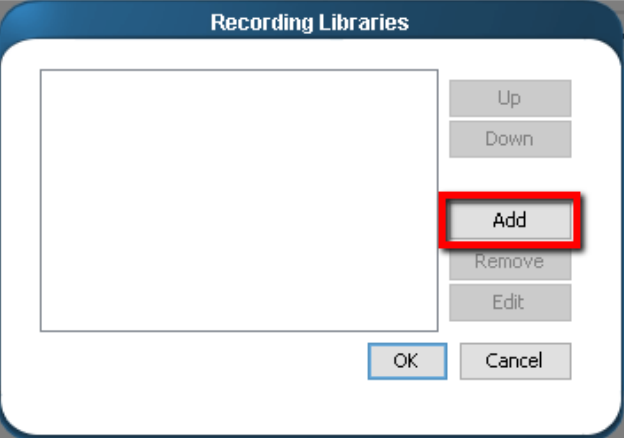
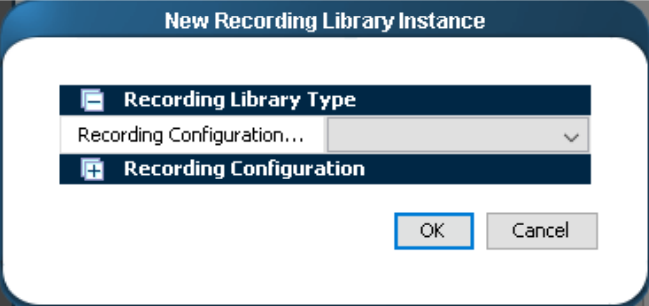
- Select the Recording Library Type "ShoreTel System or VRTX" by left clicking the down arrow, and selecting from the drop down box.
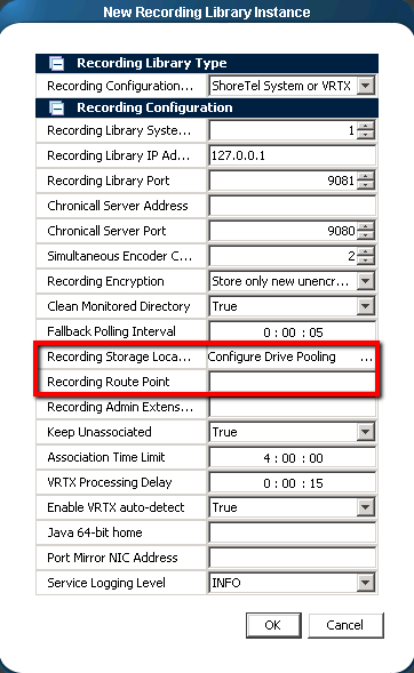
- For the Recording Route Point, enter the extension you chose for the route point. For the optional setting Recording Storage Location, here you can configure where the the recordings will be stored. This defaults to be in the Recording Library directory in the Chronicall directory (default is C:). Note: If your hard drive is not very large then you should configure a storage pool that stores recordings onto another drive or another server. Save the Recording Library and System Settings when complete by left clicking OK.
Create a Recording Rule
- Our final step is to create a recording rule that will determine which calls should be recorded. To access the recording rules, go to Recording > Manage Recording Rules and select it with a left click.
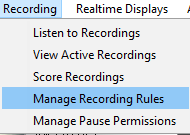
- Click "Add" to create a new recording rule.
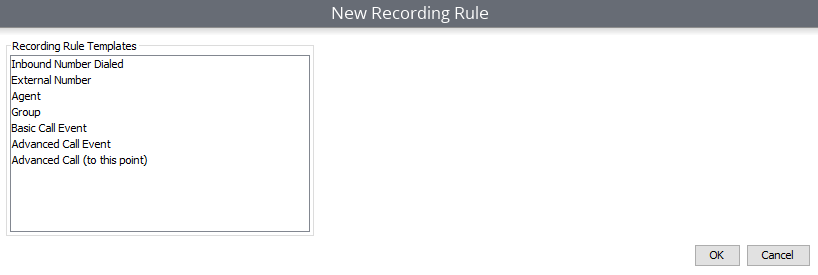
- Here you will create a new Recording Rule. Select the Recording Rule Template on the left and then fill in the options on the right. Once completed, press OK to save the new rule, OK to save the collection of rules, and then Save the System Settings.
Configure VRTX with Recording Library
Follow these instructions if you will be recording calls with the VRTX. You may skip this section if you will be recording calls with ShoreTel.
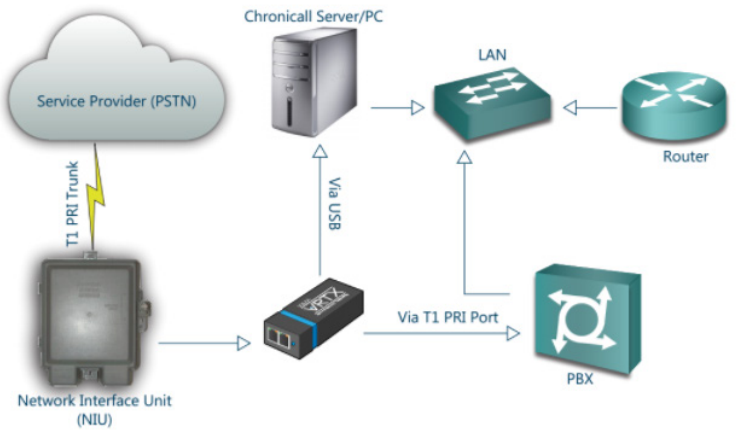
- Plug in the VRTX Hardware. The VRTX needs to intercept the network traffic passing between your D-Marc and the PBX. An easy way to do this is to unplug the trunk cable from the PBX, plug it into the VRTX, then replug the other end of the VRTX back into the PBX (note, unplugging the trunk cable will terminate any active calls on that trunk). The USB then needs to be plugged into the server that will have the Recording Library software installed on it. Below is an example for a PRI line, but VRTX's also work with SIP lines.
- Download the VRTX Driver from our Downloads page here Chronicall Downloads. Once downloaded, run the installer.. This should only take a minute or two.
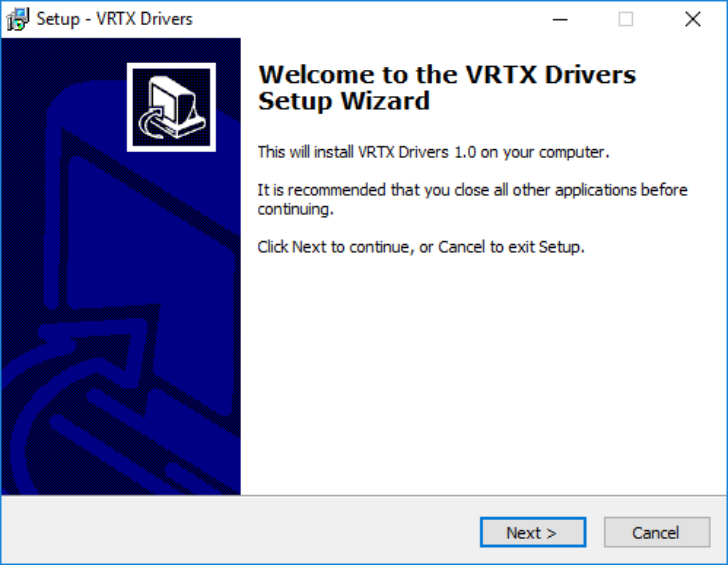
- Choose a destination and click Next.
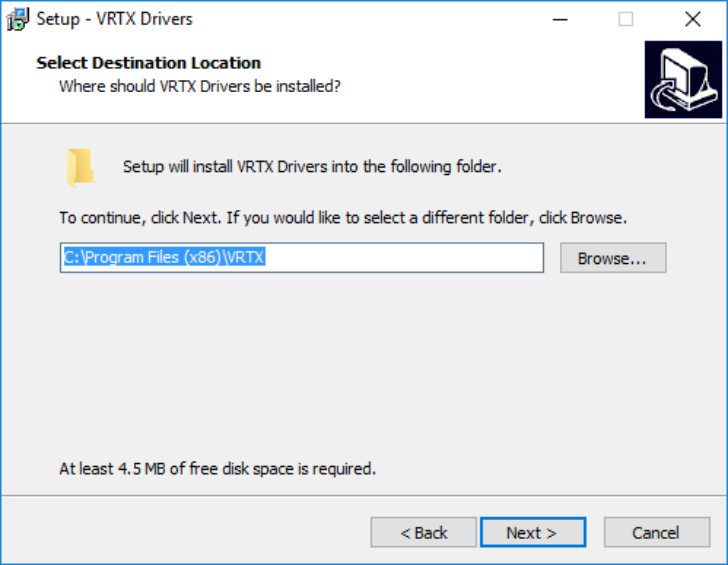
- Choose a destination and click Next.
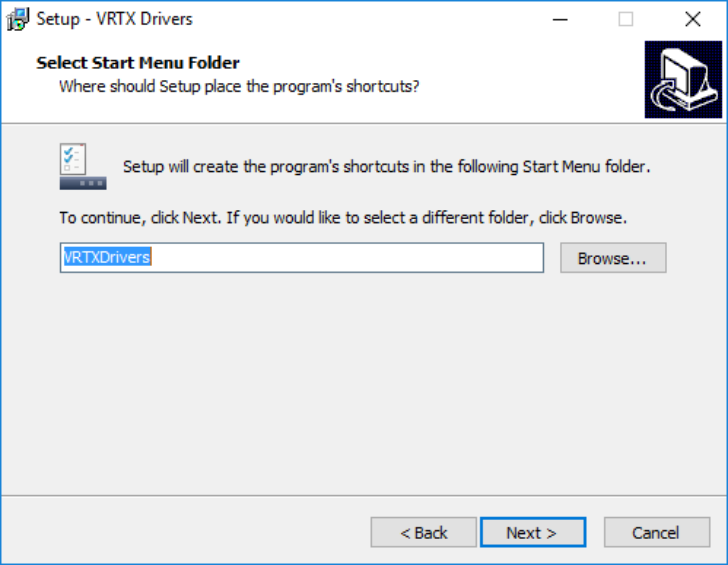
- Click Install. Allow and complete any pop ups that appear.
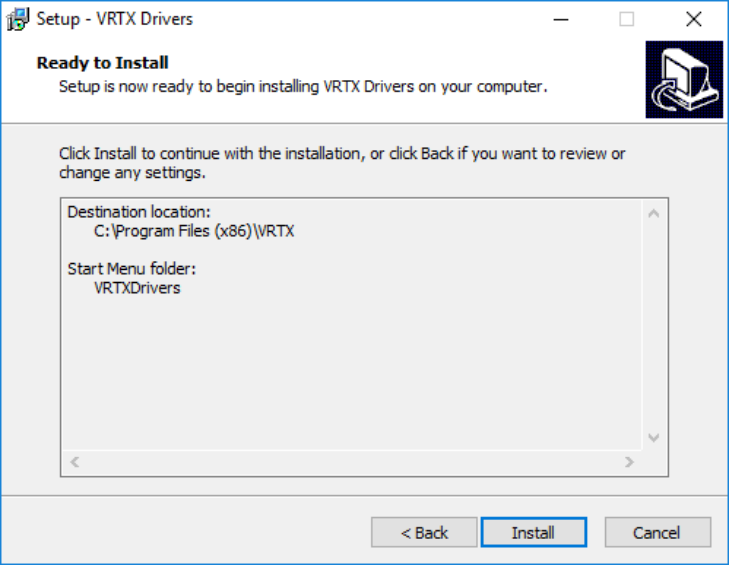
- Click Finish and restart the computer when appropriate.
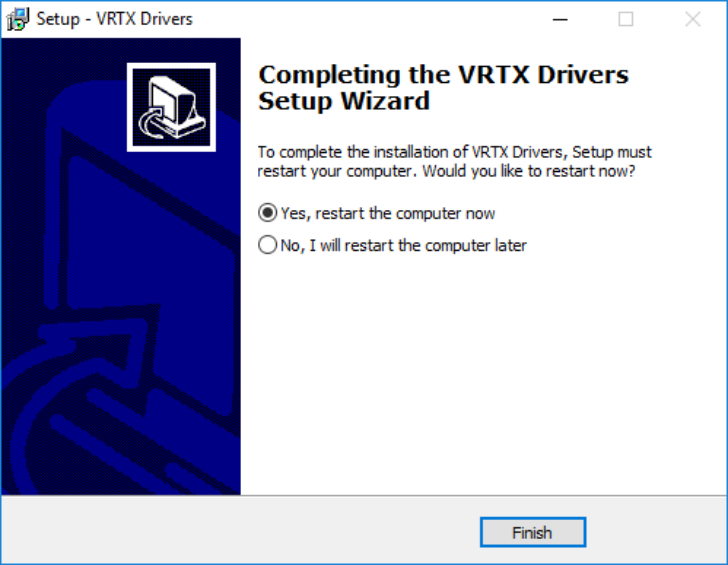
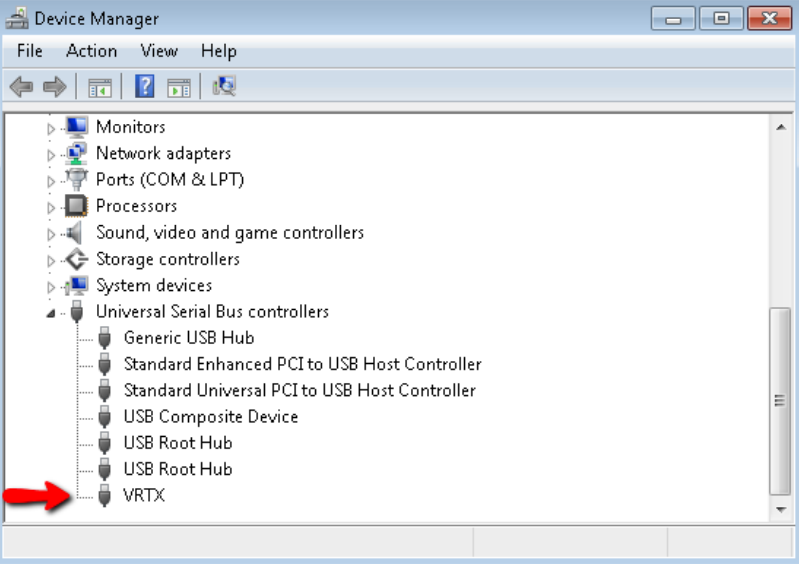
- Once the installer is complete, open up Device Manager and confirm that the VRTX shows up in the USB section.
Configure the Trunk in Chronicall
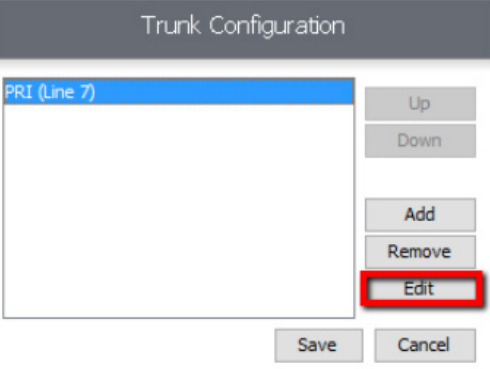
- Now we need to tell Chronicall what trunk the VRTX is plugged into. Do this by going into Admin (System) > System Settings > Recording Libraries > VRTX Configuration "..." button.

- Find the trunk that the VRTX is plugged into, select it and press Edit.
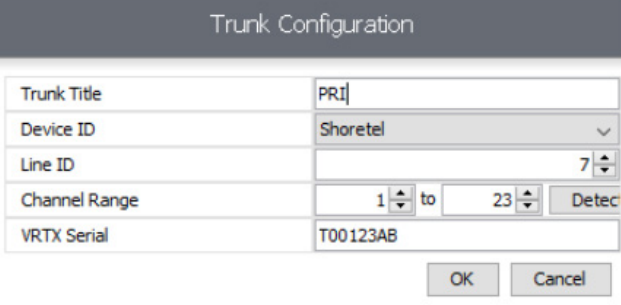
- Update the Trunk Configuration page to have the correct information. A description of each field is below. Once completed, press OK, save the trunk configuration, and save the system settings. Please refer to the Create a Recording Rule section above for steps on creating a recording rule.
- Trunk Title: Used to rename the trunk.
- Device ID: Select the PBX that manages the specified trunk.
- Line ID: This number should match the trunk number.
- Channel Range: This specifies the channel range on the trunk. You can press "Detect" to
- determine what the range should be.
- VRTX Serial: This is where you select the serial number on the VRTX from the drop down. If you don't see the VRTX in the drop down box if Chronicall is detecting the VRTX.
Configuration Tips - Route Point Configuration
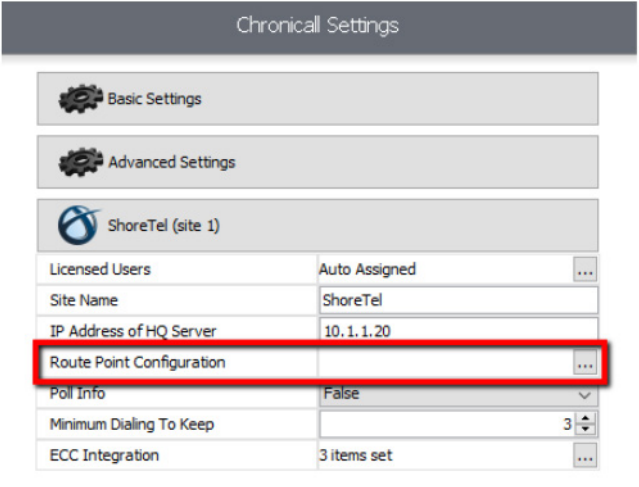
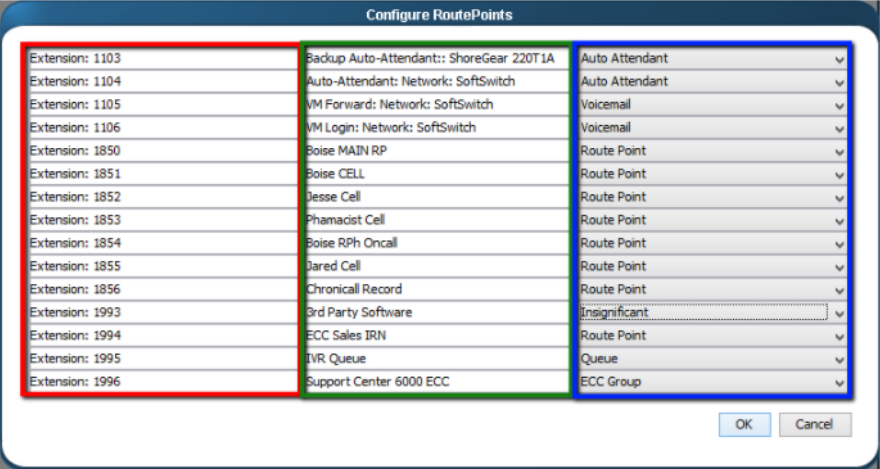
- The Route Point Configuration is unique to the ShoreTel system. When Chronicall queries the ShoreTel configuration it will auto populate the Route Point Configuration fields, labeling each route point respective to the data we receive. However, occasionally this initial setup needs to be changed to more accurately describe the route point or even hide insignificant details. Access the Route Point Configuration by going to System Settings and expanding the ShoreTel Site configuration. Click on the ellipsis to expand the settings.
- The Route Points are organized into a table with 3 columns.
- The first column lists the Extensions. These are not editable. The second column lists the
- Description Names. These can be changed within Chronicall if desired.
- The third column lists the Event Type. These can be changed to more accurately reflect what the route point is doing. If you have a 3rd party solution that is using a route point (such as a recording solution), you can set that route point to be "Insignificant" so it doesn't create duplicate events inside of a call.
Updated 3 months ago