Chronicall Desktop for Windows - Installation / Configuration
The Chronicall Desktop is a separate Download and install from the Chronicall Software. It is a Desktop application that provides several helpful features:
- Browserless Chronicall - This means you can access Chronicall outside of a web browser
- Chronicall Heartbeat - Alerts you whenever an error interrupts Chronicall (logging issues, disk-space issues, recording issues)
- Instant 911/Emergency Call notification
- Automatic launch of Realtime Wallboards in full screen at startup
- Agent Dashboards (requires Agent Dashboards seat licenses), which includes Realtime widgets, pop-up call notifications, and more.
Installing Chronicall Desktop - Windows Installation
The quickest way to download the Chronicall Desktop is to open up any web browser and enter the Chronicall server IP address followed by :9080.
*Note: If you are not sure what the Chronicall server IP address is, check with the System Admin.
Example:

Most web browsers (with the exception of Internet Explorer) do not support the Java plugin required to access Chronicall. For this reason, when you enter the Chronicall server IP address, you will be taken to the Chronicall Desktop download.
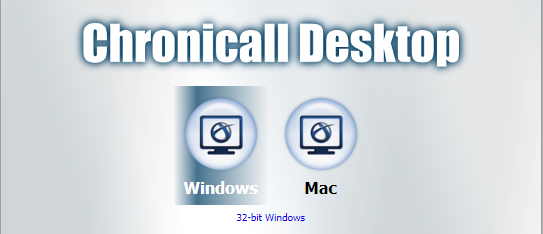
Select the "Windows" option.

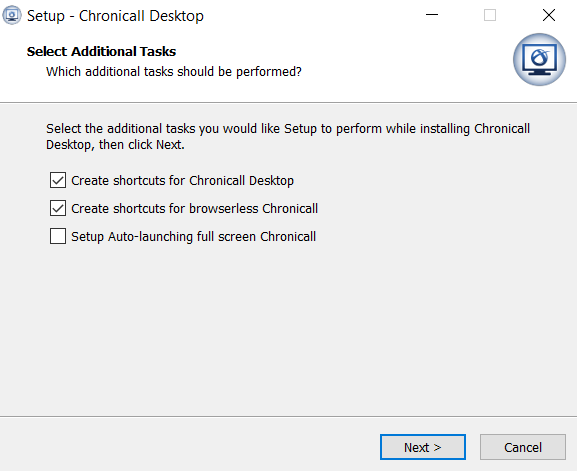
Once the download is complete, run the Chronicall Desktop setup. As the install begins, you will be given three options. Two of them will already be selected.

You can select or deselect the desired options.
Create shortcut for Chronicall Desktop - This provides the majority of the Chronicall Desktop features. (i.e., Agent Chat and File Transfer tool, Chronicall Heartbeat, Instant 911 Notification, and all Agent Dashboard features.
Create Shortcut for Browserless Chronicall - Provides access to Chronicall through a desktop application. (Recommended to deselect if you are installing this for a user that will not be accessing Chronicall.)
Setup Auto-launching full screen Chronicall - Typically selected if you would like this to auto launch wallboards (Wallboards requires Realtime)
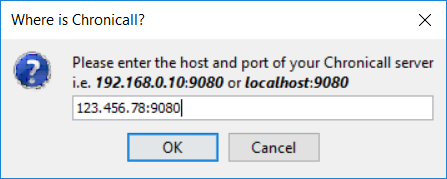
Upon the completion of the install process, a window will appear requesting the Chronicall Server IP Address. Enter the address followed by :9080.

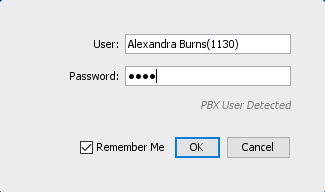
Once the IP Address verification takes place, a login prompt will appear. The user will then find their name in the list. Username will be their name. By default, their password will be their extension. This can, of course, be changed at a later time.

Updated 3 months ago
Emergency Notifications Agent Dashboards