Agent Timeline
Requires Realtime Licenses
The Agent Timeline is an extremely effective supervisor tool. It allows the supervisor to monitor Realtime User activity at all times throughout the day. It allows you to see both present, as well as past activity.
To assure the Realtime licenses are assigned see Licensed Realtime Agents
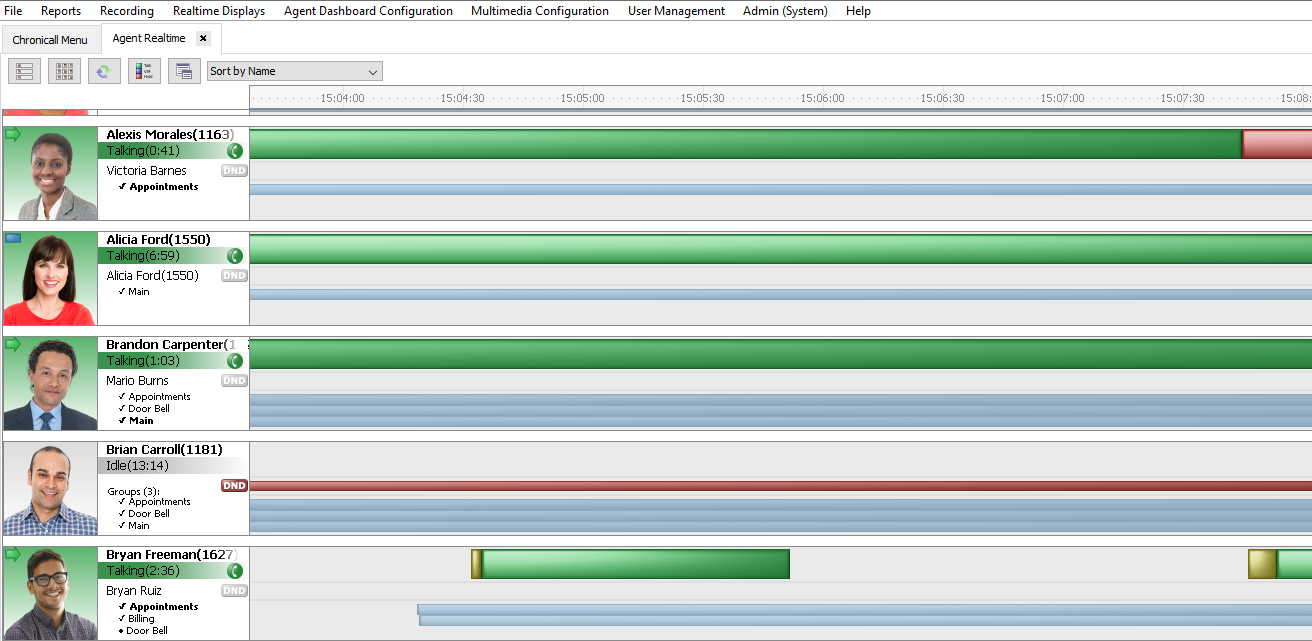
To access the Agent Realtime Timeline select the Realtime Displays section on the Chronicall main menu and select Agent Timeline
Selecting visible users
Upon accessing Realtime Agent Timeline for the first time, every user assigned a Realtime Agent seat will be visible. It is possible to select only specific Realtime users.
As the Agent Timeline is accessed, in the top left-hand corner of the screen you will find five icons.
To select the desired visible users, select the "Filter Displaying Agents" icon.

A list of users will now appear. Select from the list the desired visible users from the list by checking the box next to their name.
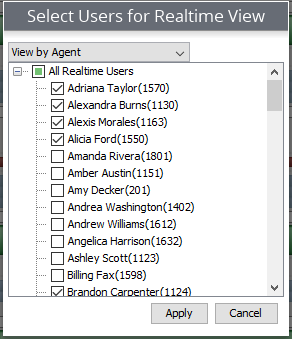
Note: This list will only display the users that have the Realtime Agent Seat license assigned to them.
Once you select the users, only the selected users will appear in the Agent Realtime Timeline.
Sorting the users
You can easily sort the user profiles in four different ways.
Sort by Name - This is default. This sorts users alphabetically ascending (A-Z)
Sort by Name (Descending) - This sorts users alphabetically descending (Z-A)
Sort by Extension - This sorts users by extension chronologically (1-10)
Sort by Extension (Descending) - This sorts users by extension chronologically descending (10-1)
To select sorting preference, select the "Sorting Dropdown" and select your option

Agent Profile
The Realtime Agent Timeline profile provides valuable information.

The profile will show you:
- Agent Name and Extension
- Their current state (i.e., Idle, Ringing, Dialing, Talking, Hold, etc.)
- Caller ID - If on a call, if the phone service provider, provides the information, we will see who the agent is speaking with
- Their featured groups - A dot signifies they are logged out, whereas a checkmark signifies they are logged in.
Agent Image
When the agent profile is first displayed, an image will not be present. If you would like to see the user's image you can add their image by right-clicking on the agent profile.
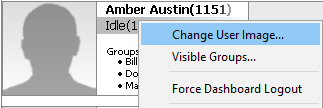
Select "Change User Image"
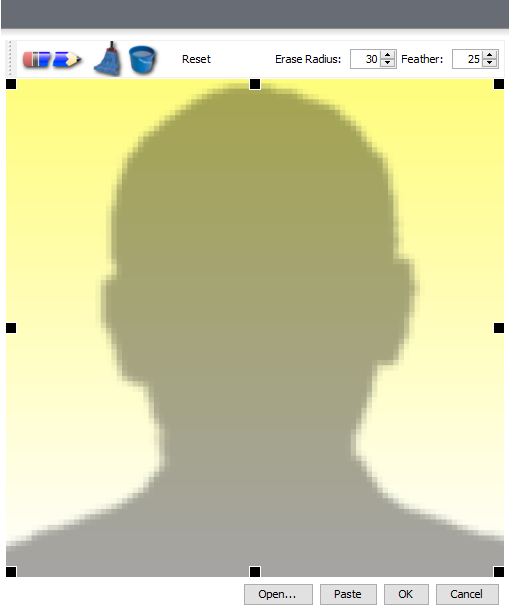
A window will now appear:
- Select "Open"
- Navigate to the folder containing the user's image
- Select the image, then select "Open"
- Select "OK"

The user's image will now appear in their profile. Furthermore, their picture will populate throughout Chronicall wherever it is available to be seen. It will be seen in the following areas:
- Agent Chat and File Transfer tool
- Cradle to Grave
- Realtime Wallboards
The Timeline
The purpose of the timeline is to provide you the ability to monitor the activity of your users throughout the day. Another way the timeline helps is through colored bars.
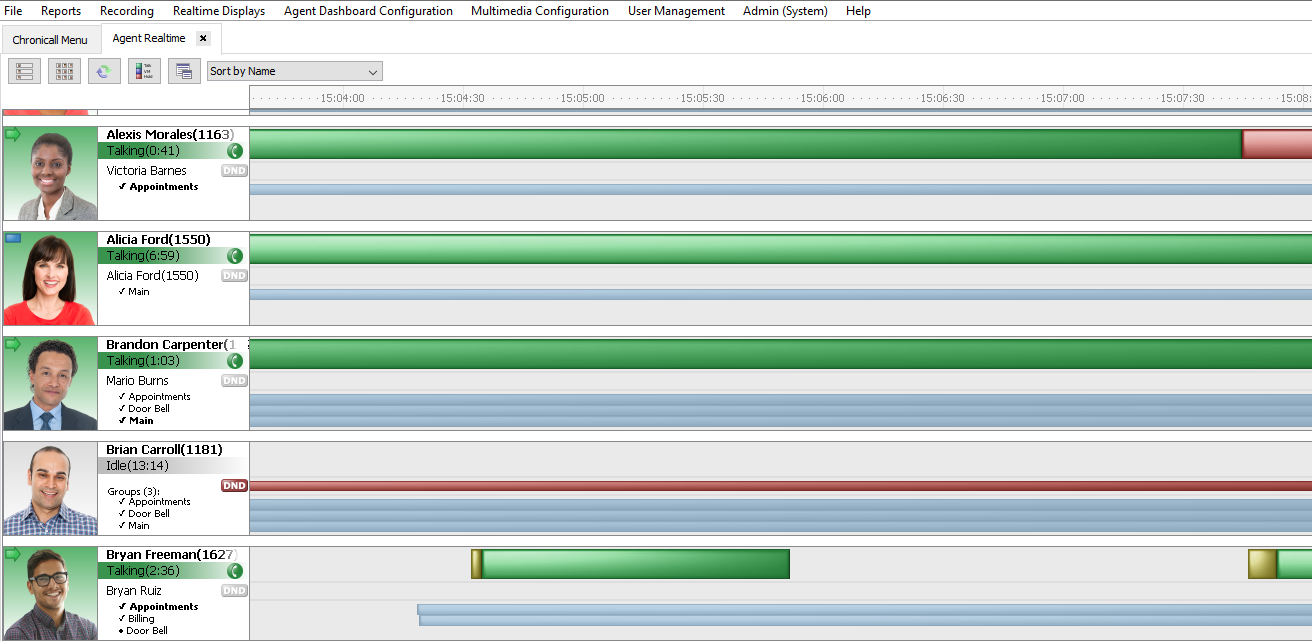
Each colored bar represents an event that is or was taking place. By hovering over the colored bar you will be able to see which event the color represents. In addition, you will also see:
- Call Direction
- Event Duration
- Associated Group
- Caller ID
Or, you can select the Realtime Color Legend found in the icons in the top left hand corner.

This will provide the option to see what each color represents.
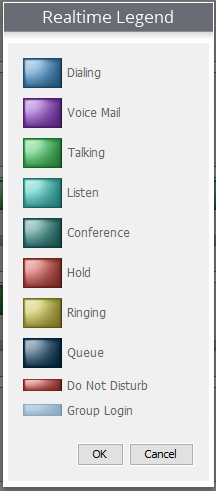
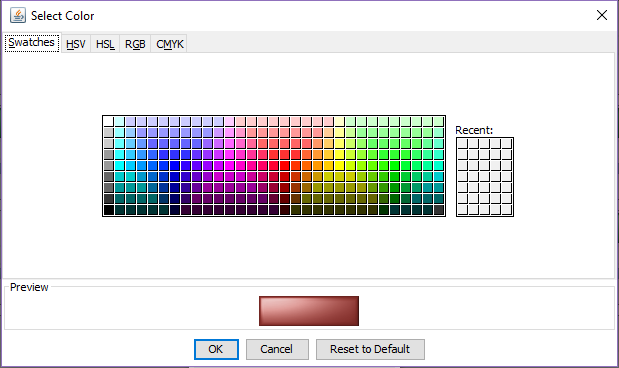
In addition to seeing which events are represented by which colors, you can change the event color to your personal color choice.
Simply click on the event color and a new color selector will appear. Select your desired event color and hit "OK".
The new color will now be presented in the timeline.
Historical Timeline
In addition to seeing what your users are doing at the current time, you can also see what was happening historically.
Short Timeframes: If you desire to see a recent past event, (usually same day) simply click and drag to your desired time of day
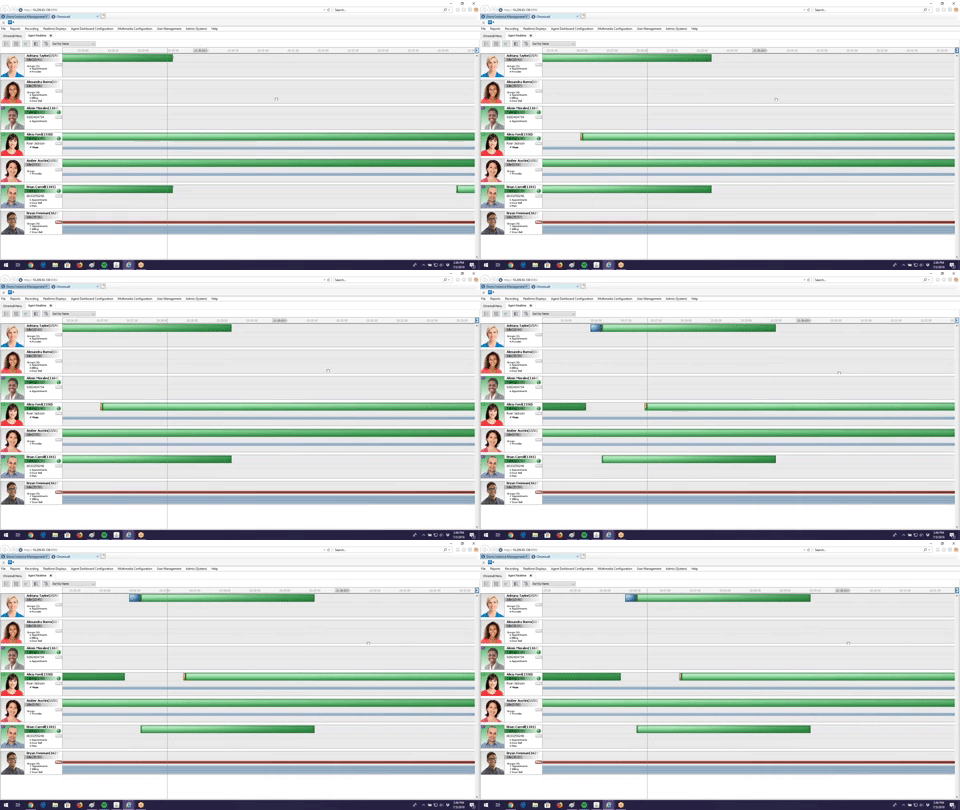
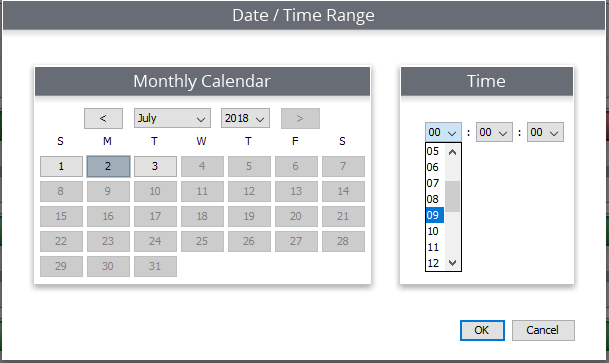
Longer Timeframes: If you desire to seeing time further back, such as another day, you can quickly click on the timeline time bar. A calendar will appear where you can select your desired day and time. Once you've selected your desired day/time, select okay, and the Agent Timeline will feature your selected day/time.
Live Column View
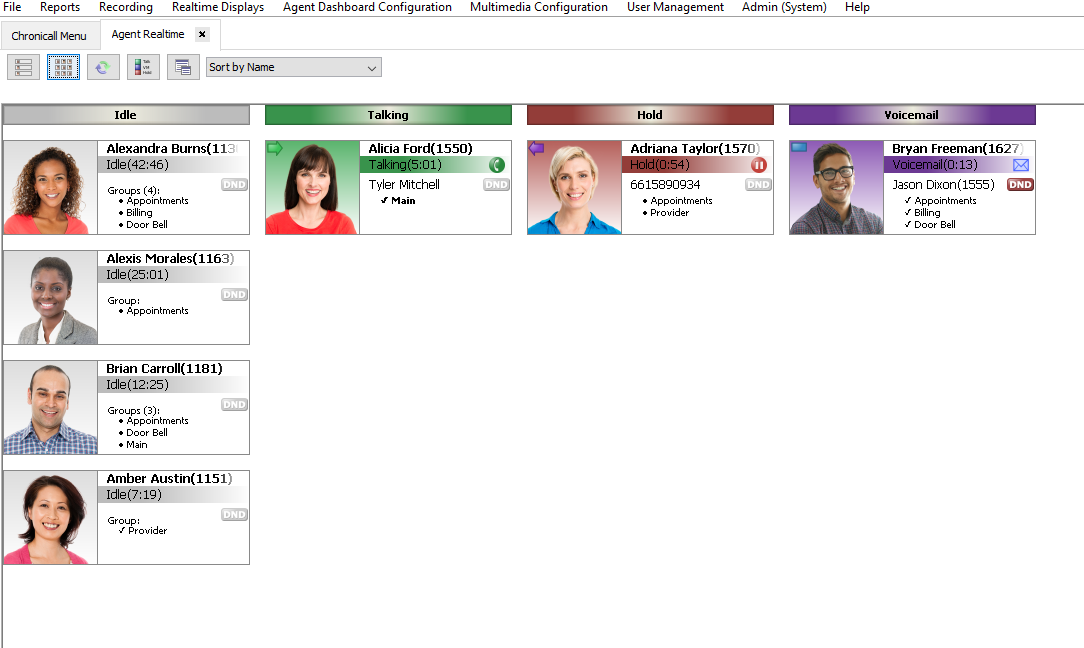
There are two views of the Agent Timeline. First, as previously seen, is the timeline view. The second is the live column view.
To see the Live Column view, select the live column icon in the top left-hand of the screen.

This will display the Agent Timeline as a column format. Each column will represent a different event. As the agents participate in the events, their profile will then appear under the designated event column. As the events change, their profile will move to the new designated event column.
Updated 3 months ago