How to Add Recently Purchased Chronicall Licenses
This article provides the proper steps for how to add newly purchased licenses to your Chronicall server.
Note: This will require a Chronicall service restart which will take down Chronicall Logging and functionality. It is recommended that you stop the Chronicall service(s) after-hours.
If you are unfamiliar how to stop/start the Chronicall service(s), please refer to this guide.
If you are using Multimedia with your Chronicall system, please refer to this guide.
Before continuing to any of the steps, please make sure that all Chronicall browsers on the server are closed.
Steps
- While on the Chronicall server, stop the Chronicall service(s).
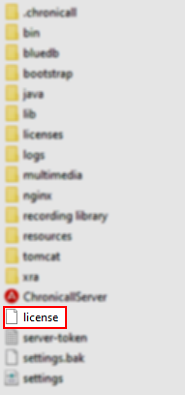
- Navigate to your Chronicall folder where it is installed.
E.g., for Windows, C:\Program Files\Chronicall
E.g., for Linux, /var/lib/Chronicall - Select the files titled "license" and "settings.xml" and/or "settings" and save a copy of them both to the desktop or another folder.

- Delete the license file in the Chronicall folder.
- Start the Chronicall service(s).
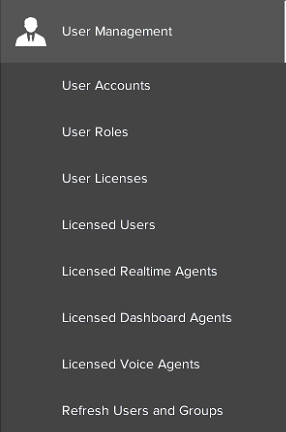
- From there, you should be able to open a new Chronicall browser and see your newly purchased licenses under the tab labeled “User Management.”

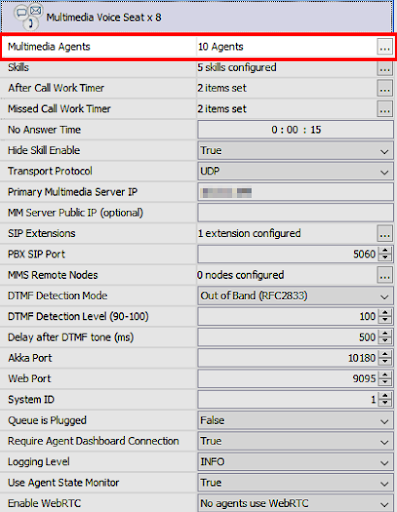
- For Multimedia Voice Seat licenses, please navigate to Admin (System) > System Settings > Multimedia Voice Seat.

How to Manually Add Your License File
If your Chronicall server has a limited connection to the internet, there is a way to manually download the license file from our server.
- Follow steps one through four as mentioned above.
- You will need to collect the infohash.bin file for our support team to help. Please follow the instructions on this guide to do so. In the ticket request, state that you would like the license key to add your newly purchased license(s) to your server.
- The Xima agent will then send you the license file.
- Copy and paste the license file to the Chronicall server desktop.
- After on the desktop, copy and paste that license file to the Chronicall folder
E.g., for Windows, C:\Program Files\Chronicall
E.g., for Linux, /var/lib/Chronicall - Start the Chronicall service(s).
- As mentioned above, you should be able to open a new Chronicall browser and see your newly purchased licenses under the tab labeled “User Management” and under Admin (System) > System Settings > Multimedia Voice Seat.
Updated 3 months ago