Run Report - HTML
This provides instructions on how to run Standard and Custom Reports.
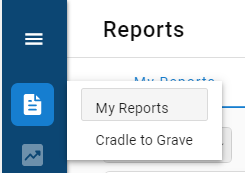
To begin, click on the document icon located on the left-hand side of the screen, and click on “My Reports.”
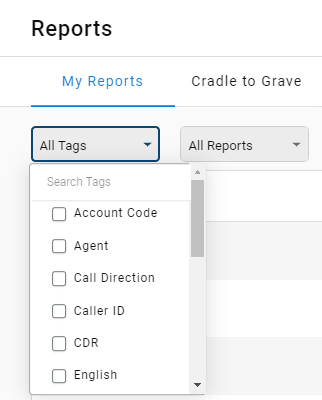
From there, you will see two filter options on the top left-hand side of the screen: “All Tags” and “All Reports.”
“All Tags” allows you to filter which kind of report you would like to run from our existing reports provided to you. (i.e., Agent reports, Group reports, Call Direction reports, etc.)
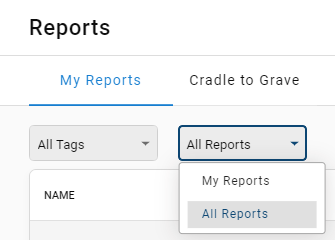
“All Reports” gives you the option to either search through all of our preexisting reporting, or switch to “My Reports,” which would display any reports you may have already used or saved.
To run a report, click on the type of report you would like to run and a configuration window will come into view.
This window will have two tabs: “Timeframe” and “Others.”
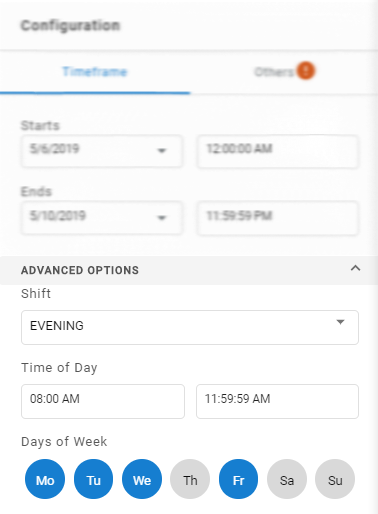
Click into the “Timeframe” tab and input the time frame you would like your report to run. For example, if you would like to run the report from May 6th to May 10th, select the corresponding dates and then change the times to the time you would like the report to begin and end.
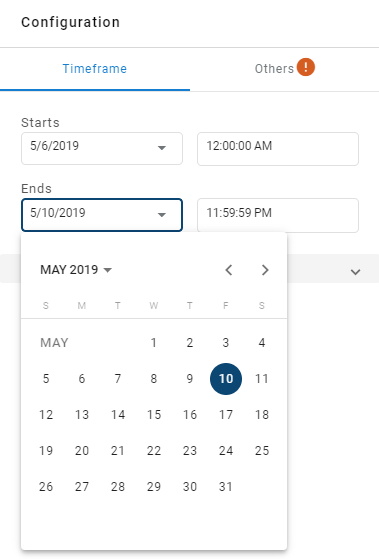
If you want to get even more specific, you can click on the “Advanced Settings” and select which days of the week you would like the report to run, what times of day you would like the report to run, and which shift you would like the report to check.
Once you’ve completed that, go to the “Others” tab and input the information it prompts you to fill. The information boxes will be different depending on the type of report, but you will see things like “Group,” “Charts,” “Report Skin,” “Rows,” and more.
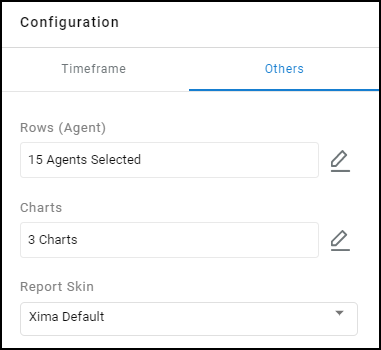
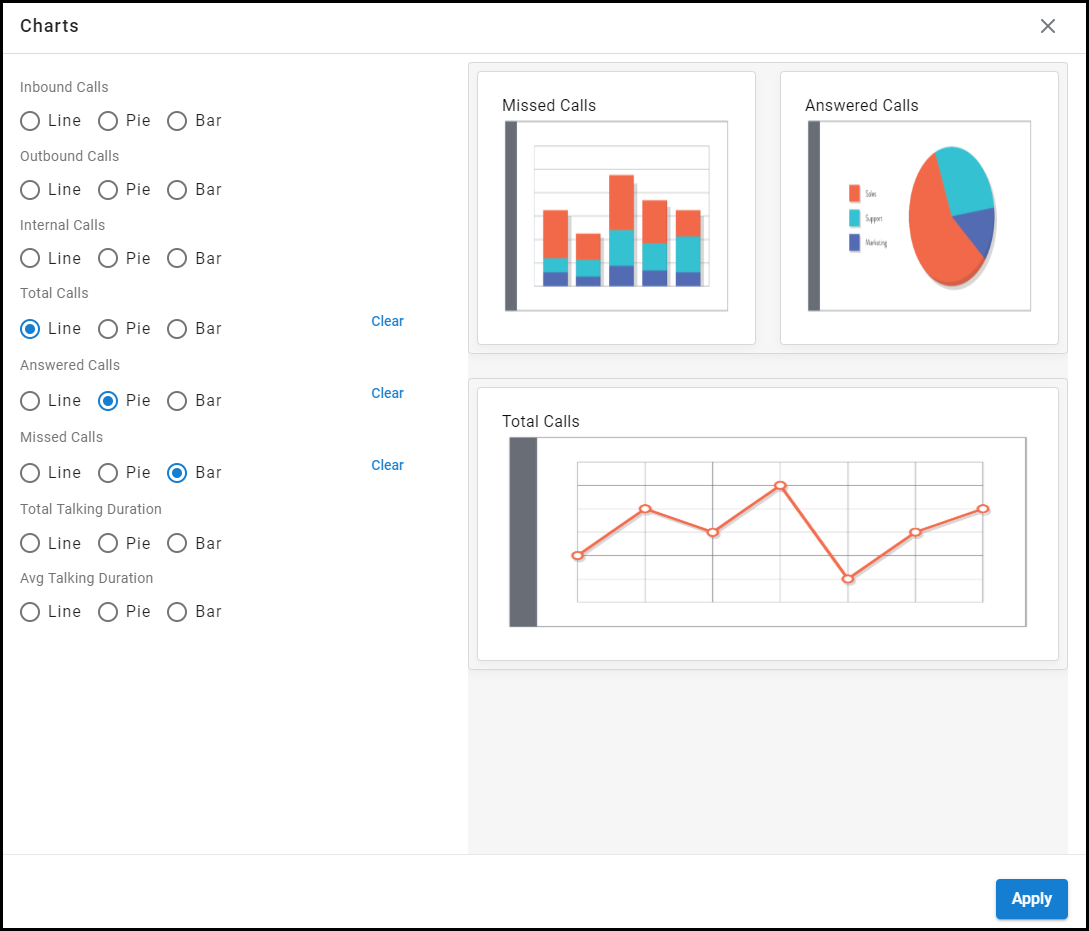
When setting up your reports, you will have the option to have charts displayed on your report. Charts are a visual representation of the information found in the columns on a report.
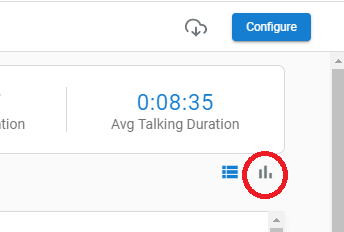
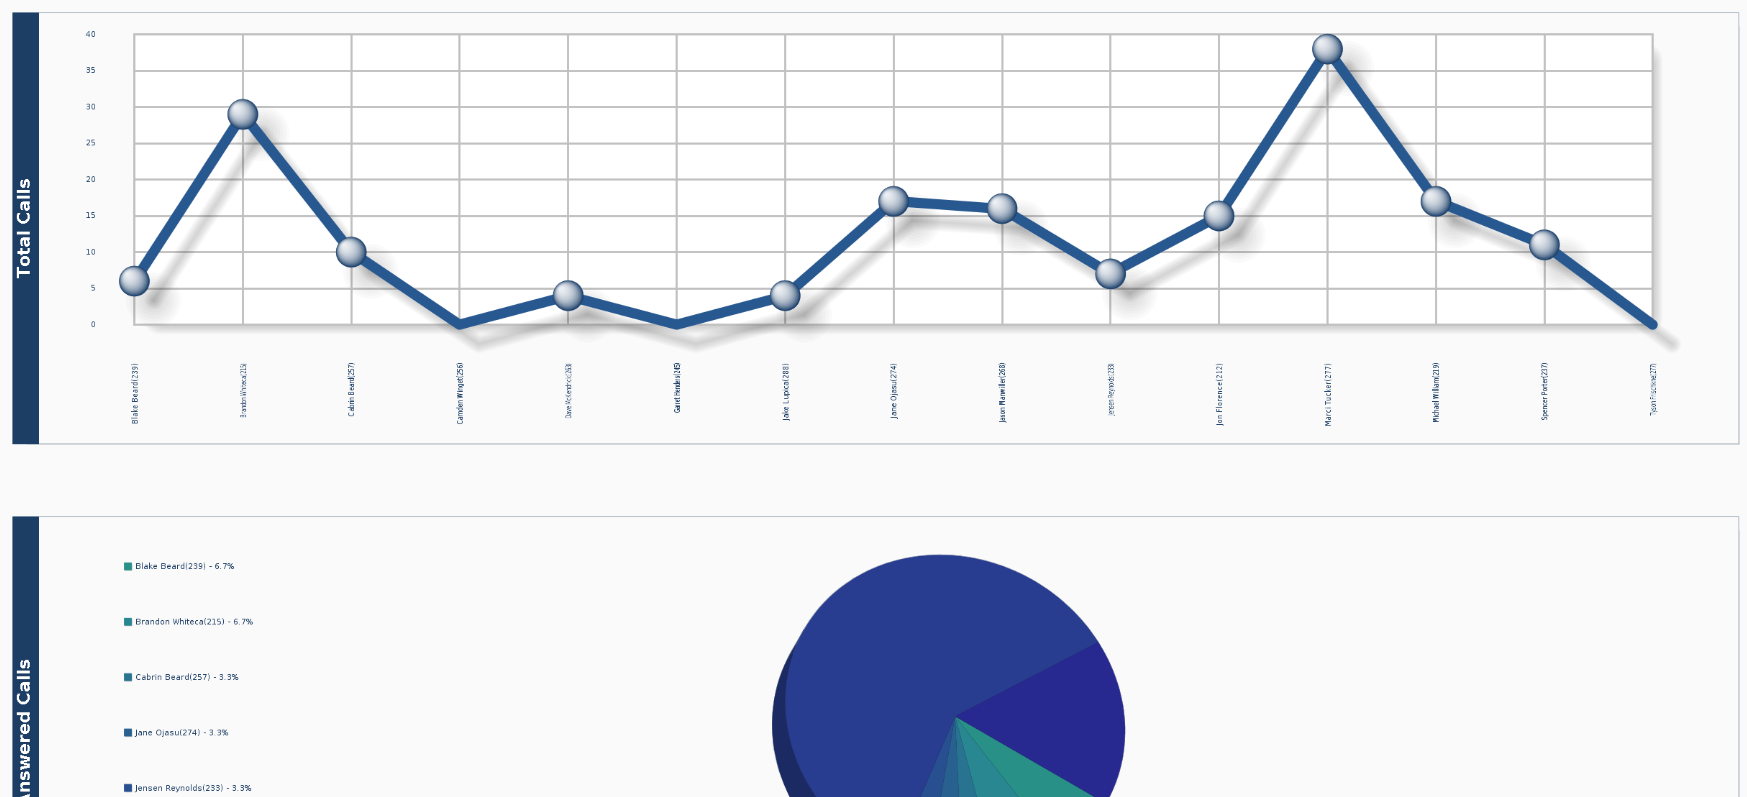
You can choose a line chart, pie chart, or bar chart. To view the chart once you’ve run the report, simply click on the bar chart icon located in the top right-hand corner of the screen just below the “Configure” button.
After you’ve entered all the information into the configuration window, click the “Apply” button located on the lower right-hand corner of the screen.
Updated 3 months ago