Accessing Wallboard in Contact Center Agent Client
This provides information on how to access and navigate a wallboard in Contact Center Agent Client.
Assigning a Wallboard to Contact Center Agent Client
To access the assigned Contact Center Agent Client wallboards:
- Navigate to the Chronicall main page.
- Select the "trending upward icon on the left-hand side of the screen.
- Select "Realtime Wallboards".
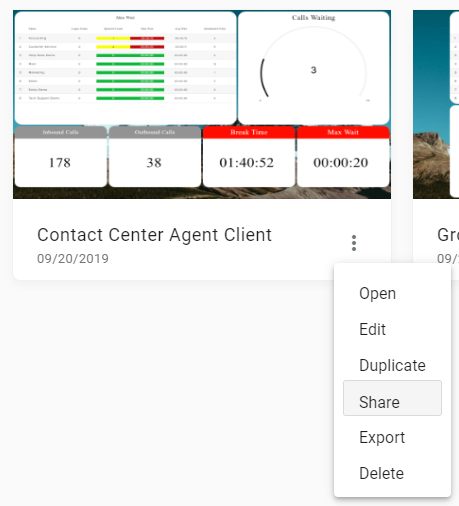
On the Realtime Wallboards page, you’ll either create a new wallboard if the wallboard you want isn’t there, or you will click on the ellipsis of an existing wallboard, which is located in the bottom right-hand corner of each wallboard option.
Note: If you’re creating a new wallboard, you can use a pre-built wallboard template, or you can create your own custom wallboard.
- When you’ve clicked the ellipsis, you’ll select “Share.”

A window will appear prompting you to select the skill group(s) you would like to be able to view the wallboard. Select the skill group(s) and click “Apply.” If the skill group isn’t there, create a new skill group.
Once you’ve selected “Apply,” the agents in the skill groups will be able to view the chosen wallboard when they log in to their Contact Center Agent Client.
Selecting Wallboards within the Contact Center Agent Client
Once the user has logged in to the Contact Center Agent Client they will have the ability to switch between their assigned wallboards.
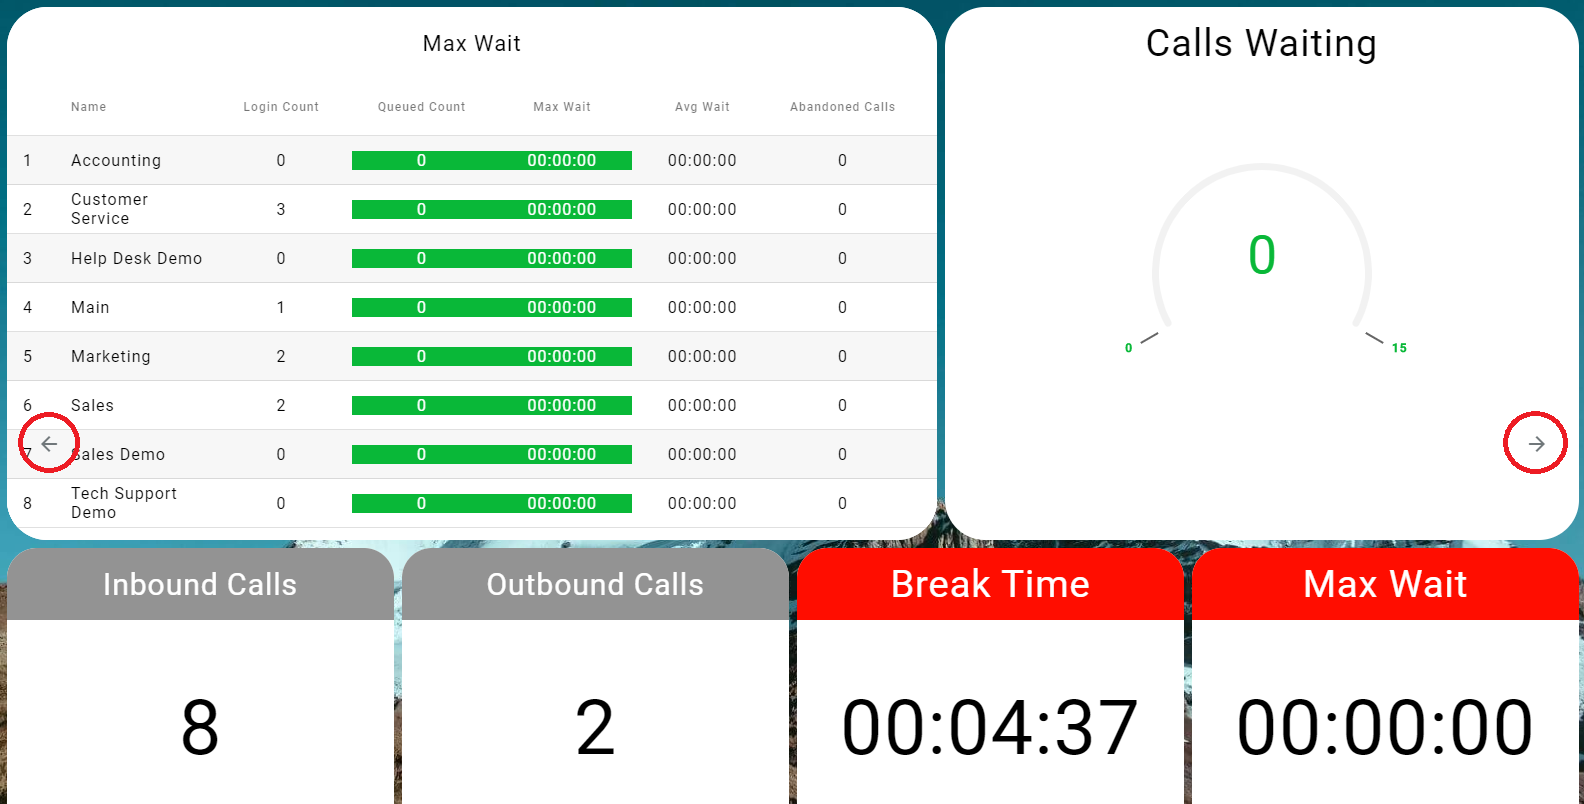
- Once logged in, the user will see the assigned wallboard. If they have been assigned multiple wallboards the can rotate between the wallboards by selecting arrow on either side of the window.

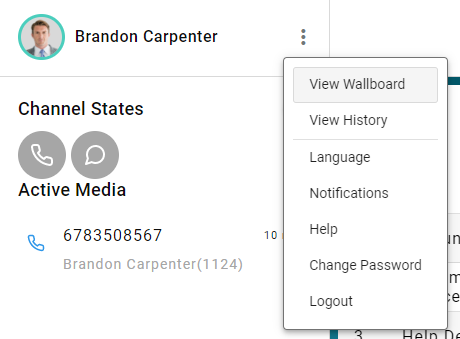
- Once logged in, the user may also choose the desired wallboard by selecting the ellipses next to their name and selecting "View Wallboard".

Updated 3 months ago